Lindsay Olson, owner of Lulu Designs, shares how she completely renovated a small, outdated kitchen for a busy family of six in Huntington Beach, California.
How did you get started in interior design?
I was always creative but at around five or six years old decided that I wanted to go to business school. So I did and after graduation got an internship in real estate. I loved seeing the houses but hated the sales side of it. I ended up meeting a developer, and we started flipping houses together because I had an eye for design and noticed when something felt off about a house and what needed to change. I didn’t have the confidence to know why what I was doing was working, but it was clearly helping him sell the houses quickly. This was something I wanted to pursue further, so I went to school at night for interior design and got my degree. I’ve been doing it ever since.
Would you describe your design philosophy?
I’m all about blending function and form. I can make anything look beautiful, but it must work well for my clients. If it doesn’t, then I haven’t done my job. Those two elements are what I strive for every day in every project, along with client satisfaction. I’ve been doing this for around twenty-four years now, and for some people, I’m on their fourth or fifth room or even their third or fourth house. I’m in a relationship business, and that repeat business is so important.

You’re considered a kitchen expert. What’s your general approach to designing this space?
I always start with a client questionnaire to understand how they use the kitchen, whether it’s primarily for just heating quick meals or making everything from scratch. From there, I can plan the layout and working triangle between the stove, fridge, and sink based on how the kitchen is used. If they’re not cooking every day, I can separate zones or make it more of a showpiece; if they’re in there constantly, it needs to become a workhorse. But I also always think long-term. Even if a client doesn’t cook, the next homeowner might, so it has to work for anyone.
What were the goals for this particular kitchen renovation?
This client, a doctor, said from day one, “I hate my kitchen. It’s got this ugly green granite and a random wall—I don’t know why it’s here.” Her wish list ended up being simple: get rid of the green, make the design classic because she doesn’t want to redo it again, and keep the space beautiful but functional for her lifestyle. She’s a mom of four and runs a catering business, so she uses her kitchen constantly. She needed a space that would work hard and also look great since it’s visible from the front door.
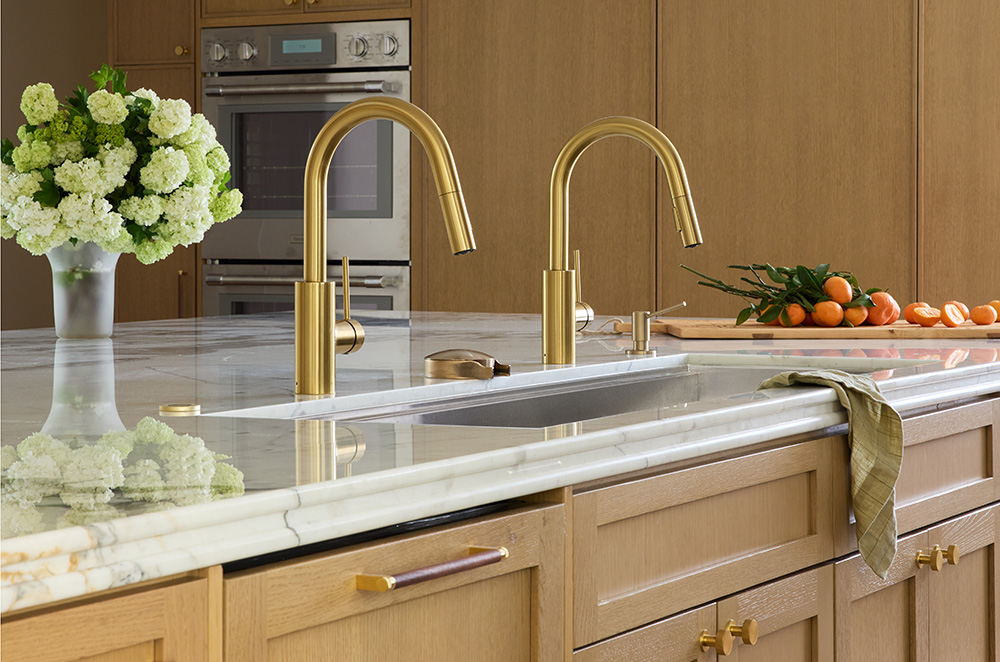
We ended up removing a wall and adding an archway to the kitchen from the entry, which opened up the space completely and gave full access to it. Now she can sit eight people at the island, which is essential for a family of six who also have other family members and friends visiting all the time. The cabinets also needed to handle the wear and tear that will naturally come with how heavily the family uses the space, so I didn’t want white paint that would chip and need to be touched up. We went with white oak cabinets, which, even though they’ve been on trend, aren’t time-stamped to 2026 and can take more of a beating than paint.

The island is stunning and clearly takes up a large part of the space. Would you tell us more about it?
Like I mentioned, it needed to seat at least eight people, so it had to be around seven by fourteen feet. When I went with my client to look at slab options for the counter, she fell in love with the marble. But this type of stone is a different animal because of the veining, so we needed to purchase four slabs to make it all line up, which was so worth it.
With marble, you also have the opportunity to create a really cool edge detail that you can’t with ceramic countertops since they need to have a square edge. Because we were using this stone, I wanted to do something a little different that would be more of a conversation starter. I worked with my fabricator to come up with the design, and we were all so happy with the final product. If we had just kept it all square, it would have been a missed opportunity.
Did that marble have any influence on the rest of your design choices?
Yes, the marble’s mix of cool and warm tones inspired the palette I used in the rest of the space. I wanted both to coexist since I feel like many kitchens lean too white and gray. I made sure the gold veining was carried through to the hood’s metal trim and the knobs and pulls so the space felt warm and cool at the same time. That balance helps it stay timeless.

The kitchen has two fridges, a freezer, two dishwashers, and a huge sink with two faucets. How did you fit everything in?
The client admitted later that when she saw my designs, she was worried that she’d lose too much cabinetry. But after we finished, she said, “Now I have to buy more stuff because I have so much storage!” The large island is really central to it all since it supports the forty-eight-inch sink and multiple appliances, and then we added the two fridges, a freezer, and plenty of cabinetry along one of the walls. The layout gives her everything she wanted yet still feels open.
Were there any challenges or unexpected adjustments during the process?
We originally wanted to add a mini mudroom in the space, but there’s a drain from an upstairs shower in one of the walls that we couldn’t move. Instead, we expanded the existing mudroom into the front entry because it leads directly into the kitchen, turning it into a more flexible space for my client. We added large cabinets in the same finish as the kitchen, so she can also use them for additional storage for the catering business she owns, if needed.
Tell us about the coffee bar. Was that her idea or yours?
That was all her. On top of owning a catering business, she also has a franchise of Duck Donuts, so she has about fifty ways to make coffee: Keurig, Nespresso, espresso machines, kettles, and more. And with four kids, everyone makes different drinks using different methods. The family doesn’t drink alcohol, but she wanted the area to feel like a traditional bar—just for coffee. It has a nugget ice machine and refrigerator, so it could easily convert to a bar in the future for any future homeowners.

What inspired the arch detail above the coffee bar?
We added the arch at the entry, and the coffee bar actually sits to the left of it. Everything started feeling a little too square, so repeating that curve balanced the space and made it feel intentional. She didn’t need more storage, so I could cut a little bit into the available room, which ended up creating a cozier space.
Which element of this design are you most proud of?
It honestly feels like a completely different house. Removing that wall helped make the kitchen more functional and completely changed the home. You can now see straight through from the front door to the backyard. But I’m probably most proud of the fact that she sends me pictures weekly of her kids and their friends in her house. That’s why I do what I do.
For more info, visit luludesigns.com
One of the greatest joys of gardening is relishing homegrown crops, from carrots and peppers to strawberries and apples. By preserving them, you can enjoy them year-round too! While certain methods like canning can require a steep learning curve, these simpler ones may allow you to easily extend the lives of your fruits, vegetables, and more.
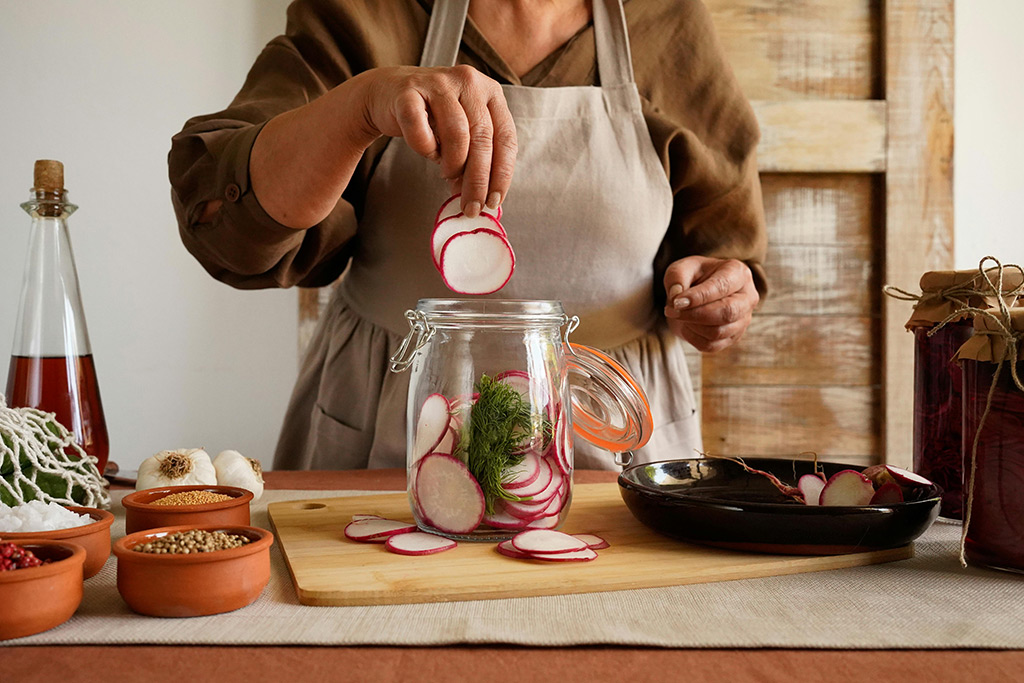
Canned pickling is a traditional and long-lasting way to preserve vegetables, but it can also take several weeks, which is why many prefer to quick-pickle them in the refrigerator instead. All you need is some water and vinegar, a few lidded pint-sized jars, and the freshest veggies from your bounty. You’ll first want to wash and dry the crops and cut them into slices or spears; smaller ones, such as cherry tomatoes, can be left whole. Then place them into the jars and prepare the brine, mixing equal parts vinegar (any basic variety will work) and water in a pot. Feel free to add your choice of seasonings—for example, garlic, dill seed, and red pepper flakes for classic cucumber pickles or honey and sea salt for sweet pickled onions—and heat.
Once the brine boils, carefully pour it over the vegetables, leaving a little space at the top of the jars. Tap gently to release any trapped air bubbles, secure the lids tightly, and store the jars in the refrigerator. Though the brine will begin to work in about ten minutes, wait at least a day to allow the flavors to develop. Properly stored in the fridge, your pickled vegetables will stay fresh and delicious for one to three months.

Storing your produce in your freezer is a quick and effortless tactic to extend its life for up to a year. Most fruits, veggies, and herbs can be frozen, though delicate ones like lettuce and cucumbers may lose some of their crispness. For best results, pick them in the morning when they’re at their freshest, getting them prepped and stowed within twelve hours. It’s also a good idea to cut larger items into smaller pieces; this will allow them to freeze and thaw faster and more evenly.
In addition, many vegetables should be blanched (briefly boiled or steamed) first to kill bacteria, deactivate decay-promoting enzymes, and preserve texture. (To get specific blanching times for different vegetables, visit the National Center for Home Food Preservation’s website.) After blanching, immediately place them in an ice bath to stop the cooking process, then pat them dry and store them in airtight, freezer-safe containers. As for herbs, wash, dry, and chop them before combining them with a neutral oil, such as extra-virgin olive or avocado oil, and freeze the mixture in ice-cube trays or freezer bags for easy use in future recipes.
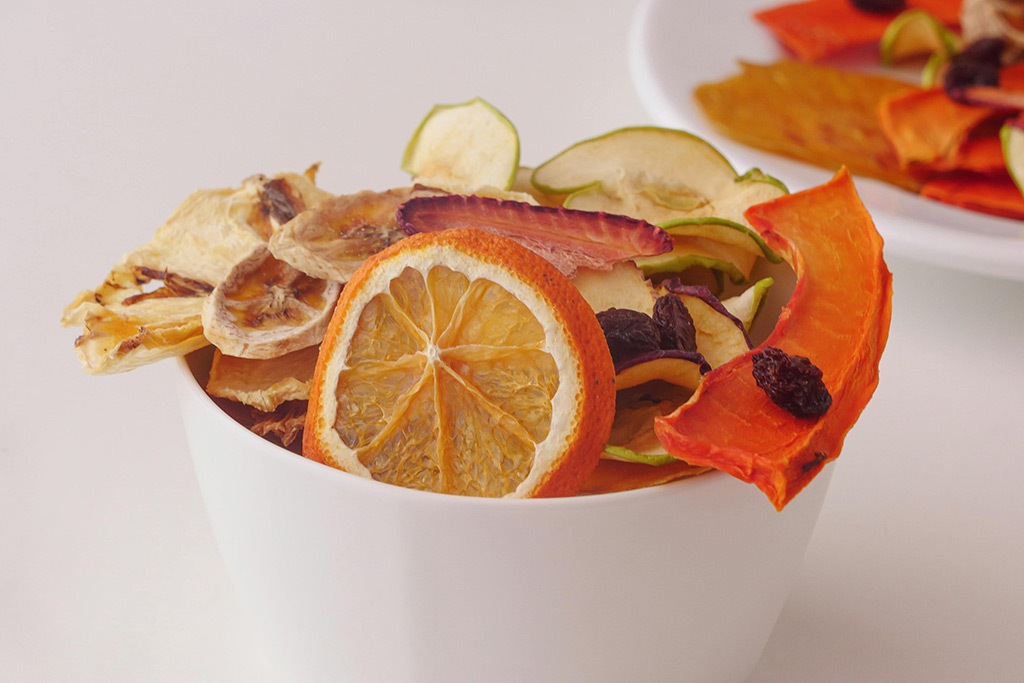
Another option is to dehydrate your crops to create delicious snacks like kale chips and fruit leather that can be stored for four to twelve months. You’ll get the best consistency with a dehydrator, but you can also use an air fryer on its lowest temperature; some even have a dehydrating setting. Alternatively, you can simply set your toaster oven or full-sized oven to low.
While dehydrating is a basic process, it does require patience: it can take up to four hours in an air fryer, ten hours in an oven, and twelve hours in a dehydrator. To prepare your foods, wash and dry them thoroughly, then cut them into uniformly sized slices. For fruits that are prone to oxidation, such as peaches, pretreat them with a mixture of bottled lemon juice and water to prevent browning. Lay your produce flat on a tray in your appliance to ensure that they dry evenly, and store them in an airtight container in a cool, dry, and dark area like your pantry.
If you have abundant harvest options, premaking soups and sauces for busy weeknights can make excellent use of them. Most can keep in your freezer for around three months—just move them to your fridge the day before you wish to enjoy them. Depending on what your garden yields, you might whip up a creamy roasted carrot soup, a vibrant chimichurri with fresh cilantro and parsley, or a rich tomato and basil pasta sauce. With a little creativity, the possibilities for delicious homemade dishes may be endless!

Are you more of a flower gardener than a veggie one? There are plenty of ways to enjoy your blooms’ beauty long into autumn as well. Try the pounding method, which involves placing them on a piece of fabric or paper over a hard surface, covering them with a paper towel, and gently hammering them to transfer their pigments. Or you can press them by laying them between parchment paper within the pages of a book and setting a heavy item on top. Then use them to embellish handcrafted cards or bookmarks or make stunning decor for your home.
With these techniques, you may prolong your enjoyment of your delicious and beautiful garden, giving you plenty of tasty foods and pretty blooms to savor for weeks or months to come.
While you might associate brunch with gathering on a warm and sunny summer patio, the temptation to enjoy a fantastic midday meal is worth indulging in all year. Shift the occasion indoors, and you can savor moments with your loved ones at the table. The enclosed rich and creamy side and veggie-filled egg entrée from the Brunch Season cookbook will set the scene for chatting the afternoon away.
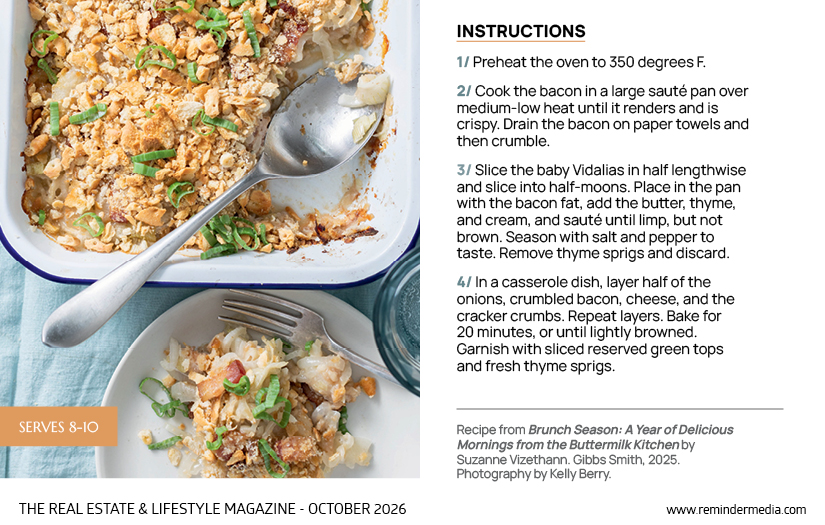
Meaty, cheesy, and packed with onions, this is the perfect midday side dish.
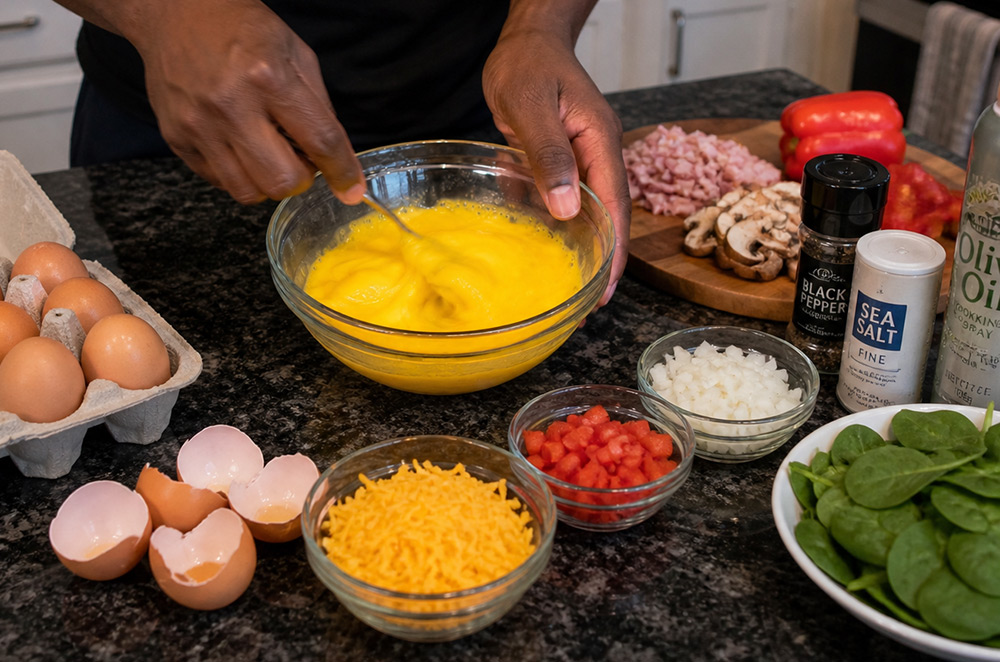
A mix of fresh herbs, spicy peppers, cheese, and veggies elevates an egg classic.

Recipes from Brunch Season: A Year of Delicious Mornings from the Buttermilk Kitchen By Suzanne Vizethann. Gibbs Smith, 2025. Photography by Kelly Berry.
This is a dish we always had on the table growing up, most commonly paired with a steak my dad would grill. This also goes great with eggs. You can use regular Vidalia onions if you can’t find baby Vidalias.

Serves 8 to 10


This is the kind of dish you make for yourself and feel really good about it. It’s light, and is an easy way to make an omelet thanks to a little help from the oven.

Serves 4


Kitchen Note:
The trick to good eggs is getting the pan to the right temperature. This takes a bit of practice, but the butter will let you know immediately if the pan is too hot. Practice a few times by putting cold butter in a preheated skillet.
In recent years, minimalist features like plain Shaker cabinets and seamless doors have dominated interior design. As clean-lined and contemporary as these features may be, it might be time to reconsider some previously overlooked elements that are now back in vogue: statement-making hardware. From vibrant cabinet handles to visually striking drawer pulls and bold new takes on knobs, it’s brimming with design potential.
The key question is: Are you underutilizing it? This autumn, open the door to hardware that’s more than just functional, serving instead as a focal point that elevates your home’s overall style.
Small features can make a big impact, and today’s hardware trends reflect that. Consider embracing bolder colors, unexpected shapes, and artful patterns on your doors, cabinets, and drawers. But there’s no need to overhaul every room. To experiment with style, install pieces like oversized handles that span the length of a cabinet or hand-painted floral knobs in one area, such as your pantry or under-sink cabinets.
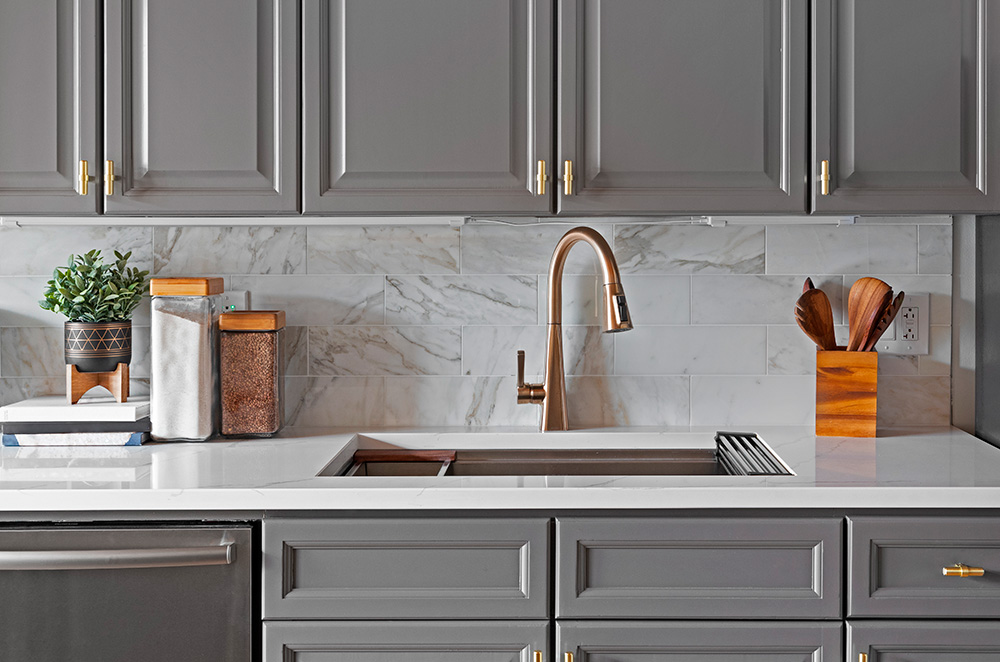
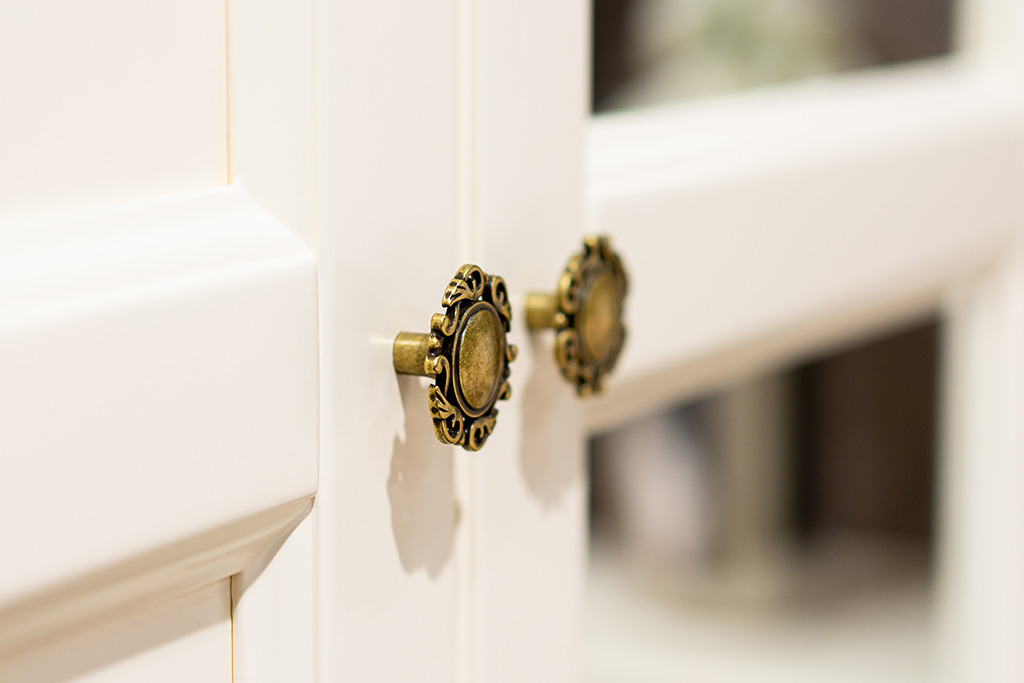
For a more traditional aesthetic, replace builder-grade or plain hardware with an elegant alternative like matte-black metal or brushed brass. These finishes catch the light in modern ways and are available in a range of alluring styles. Focus on areas guests will notice and interact with, such as your front door handle, living room armoire, and kitchen cabinetry. Even in classic silhouettes, quality materials can make a refined impression.
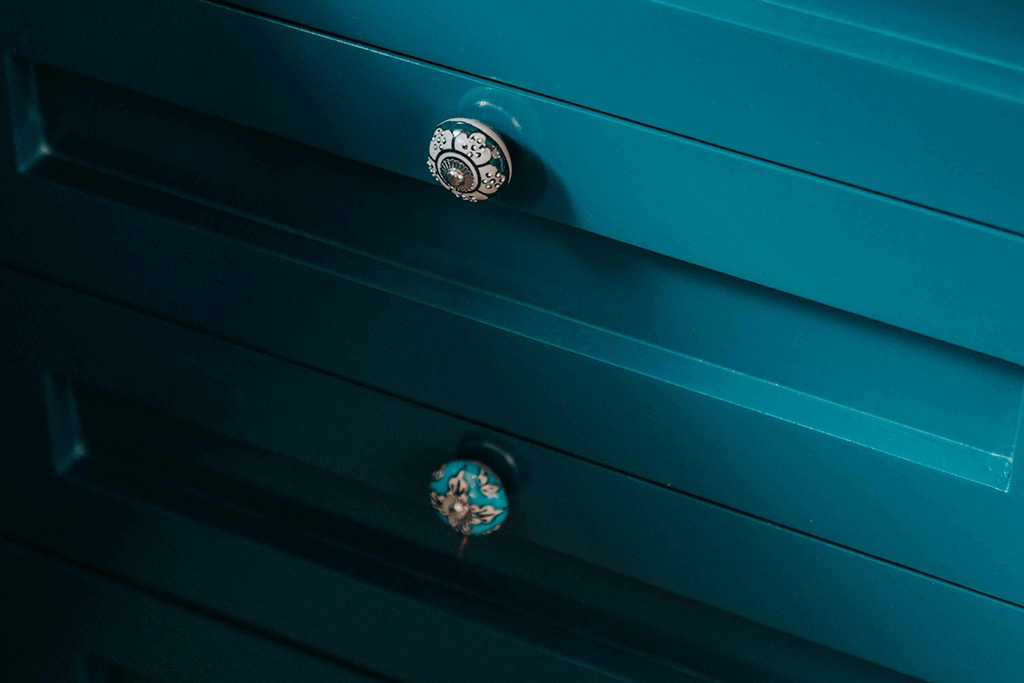
To add dramatic flair, opt for hardware in bold and bright hues. For instance, liven up a bathroom filled with dark walnut cabinetry by swapping in jade-green knobs, or introduce a stately feel to a home office with sapphire-blue crystal doorknobs. To ensure that these vivid colors feel cohesive and not out of place, pull inspiration from existing accents in the room, such as vibrant wall art or subtle tones in stone countertops. When chosen with care, jewel-toned hardware will elevate any space to another level of color and shine.
Certain design elements never go out of style. Case in point: antique keyhole covers, wrought-iron door knockers, and vintage ring pulls offer timeless appeal. You might uncover treasures at local thrift shops or by repurposing old furniture you already own since many vintage pieces just need a polish to shine again. To add regional character, incorporate elements inspired by your home’s location and history, such as Scandinavian motifs in Minnesota, art deco features in New York, or fleur-de-lis accents in Louisiana.
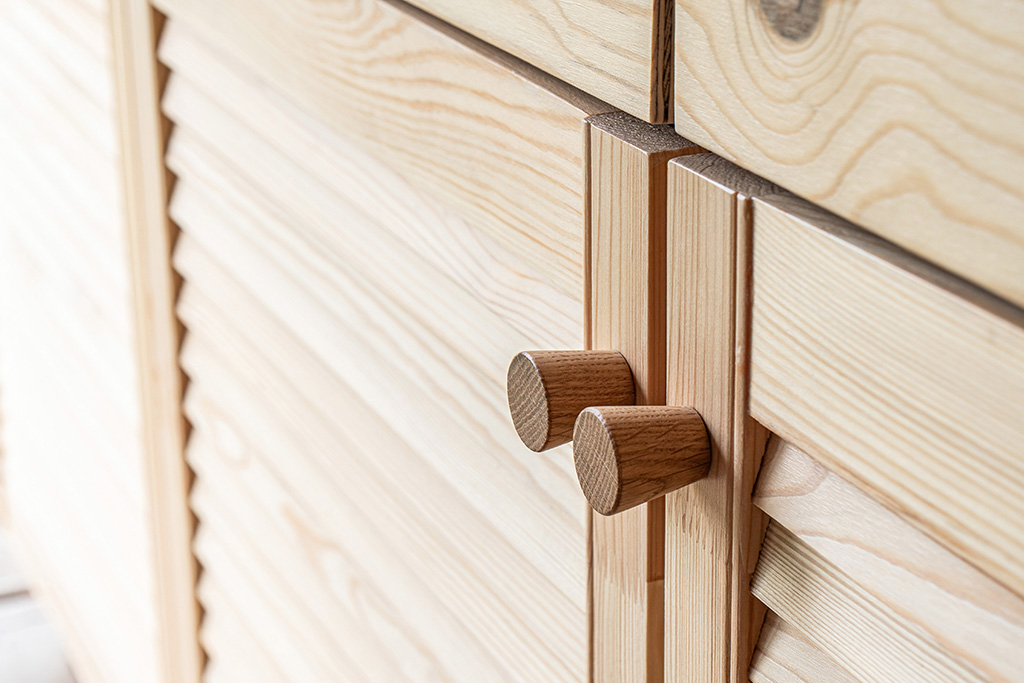
Does the term “hardware” only bring to mind metal pieces? If so, don’t dismiss wood hardware, which, while more common on dressers and bedside tables, can also add warmth and texture to kitchens and bathrooms. Choose a tone-on-tone look for understated elegance, or create color contrast (e.g., light beech against dark mahogany) for a playful twist. To make the most of wood’s natural beauty, skip the paint and opt for a clear finish that preserves the grain and ensures durability.
But you don’t need to stop there. Once you’ve added a little fashion to these functional pieces, consider elevating other overlooked accents, such as switch plates, doorway trims, or lighting. These subtle upgrades can help you create a breathtaking look that pulls any space together—and transforms your home into a treasure trove of style.