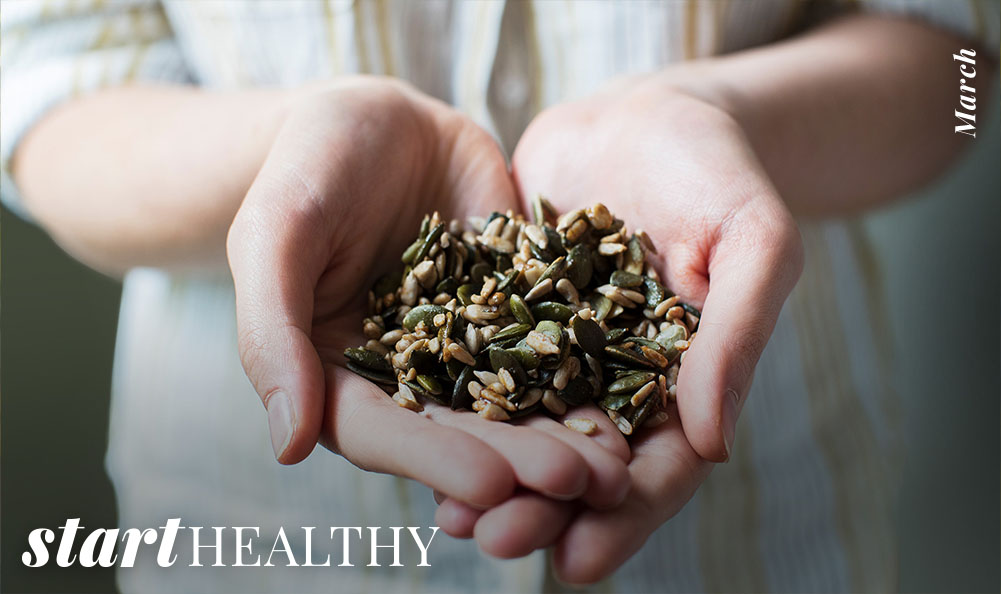
March is here, and with it the promises of a new season. This issue of Start Healthy offers a variety of ideas to help you make the most of the spring, including a closer look at the health benefits of spending time alone, creative storage solutions for your cleaning supplies, tips for improving your exercise routine, and a guide to the nutritional benefits of seeds.
Between work, family, and friends, it’s not always easy to make yourself a priority. However, it’s important for your mental well-being to step away from everything and spend a few moments alone. Inside you’ll find a closer look at how personal time can help reduce stress and improve your mental health.
Spring-cleaning season is in full swing. Organizing your cleaning supplies can help you tackle your home tasks with ease. This issue includes simple ideas for organizing and properly storing your various cleaning solutions and tools.
Working out comes with a lot of health benefits, but those benefits can be minimized, when exercises aren’t done correctly. Because improper technique can do more harm than good, be sure to read the enclosed article for tips on how to properly perform five common foundational exercises.
Seeds may be small, but they pack a mighty punch with a lot of nutritional benefits. The informative article inside lists seven seeds you should consider incorporating into your diet.
Here’s to a happy and healthy season! As always, it’s a pleasure to send you this magazine.
Work and social demands tear at us every day. In the clamor of schedules full of expectations, due dates, and bills, it can unfortunately be all too easy to let our health fall by the wayside.
One of the best actions you could take to improve your mental health, reduce stress, and enjoy life just a little more is also one of the easiest and most affordable: taking a little personal time. Close your laptop, exit your productivity app, and, for a little while, put yourself first.

If you carve a segment out of your day for solitude, you can reap many rewards. A study of over 2,000 individuals published in Frontiers in Psychology found that occasional solitude doesn’t just feel peaceful—it also enables personal growth, the development of new skills, and an overall more positive mindset. And rather than making participants feel lonely, personal time helped them gain more appreciation for their closest social connections.
Practicing solitude doesn’t have to mean sitting by yourself in a windowless room, though. The time is yours by definition, so do what you want with it. Go for a walk in nature, lie back with a book or magazine, or sketch in a notepad. Also, consider meditation; its practiced breathing and posture techniques have been shown to boost emotional health and even improve self-image.
An incredibly productive approach to self-care is indulging in a hobby or field of interest. Spend a little time after work or on your off days doing whatever suits your fancy. Get back into an old hobby you used to enjoy, like painting, gardening, or woodworking. Or finally try that new thing you’ve been wanting to get into, whether it’s learning a new language or playing guitar. Remember, this time is for you, so there’s no judgment allowed. Watch an embarrassing TV show, or dance to that music you don’t want others to know you listen to. Having a guilty pleasure can be fun—and it may be the best way to decompress from your busy routine.

Solitary self-care, like other healthy habits, may require some practice to build it into a routine. Some people resist alone time despite its benefits, protesting that socializing or doing necessary tasks like chores is a more beneficial use of their time. While these activities are certainly important, solitude is an equally vital counterweight that can help you achieve a balanced, healthy state of mind.
At first, you’ll need to be intentional about practicing personal time. Try anticipating when you’ll have at least ten minutes to yourself with no pressing responsibilities, such as during your lunch break, after your kids go to bed, or first thing in the morning.
Another key part of self-care is learning to say no to nonessential commitments that get in the way of your scheduled personal time. This can be a skill that takes work to develop as you may initially feel guilty about scheduling and honoring your personal time. But there’s no need; solitude is a productive activity that benefits your health and mindset, not a selfish indulgence.
Over time, self-care will become as routine as any other daily task. You may even begin to see the sense of calm, self-assurance, and creative discovery it fosters positively impacting your daily work and relationships.

While many prefer to use solitude to mentally detach from their problems, it’s also a great way to engage with the opposite type of stress relief: actively thinking about its sources. However you practice personal time, consider dedicating a few moments to checking in with yourself. Listening closely to your thoughts and determining what’s irking you or causing you stress can reveal new perspectives on different facets of your life and help you work through them.
A great way to do this is through journaling. As Talkspace therapist Bisma Anwar, LMHC, states, “Journaling is a healthy coping strategy that includes mindfulness of emotions and insight building, which can happen when we start to write down our thoughts and feelings.” Sometimes the best way to work through something is to get it out of your head, and journaling allows you to do that without necessarily having to share it with others. So give it a try—you may be surprised by what you discover.
However, you don’t necessarily need to do journaling to uncover the depths of your psyche. Feel free to make this a fun and creative activity free of specific expectations. Write down anything you like: your thoughts, whatever nonsense comes to mind, or just a recap of your day. There’s no such thing as bad journaling, as long as you commit time to it. As with all types of personal time, the only way to fail is to pass it up.
While cleaning may not be your favorite activity, it’s an important part of maintaining your home and keeping you and your loved ones healthy. To make your life a little easier, consider how you can better organize your cleaning supplies. Having everything stored properly in easy-to-reach spaces can help make cleaning your home less of a hassle and give you the motivation to consistently get it done.
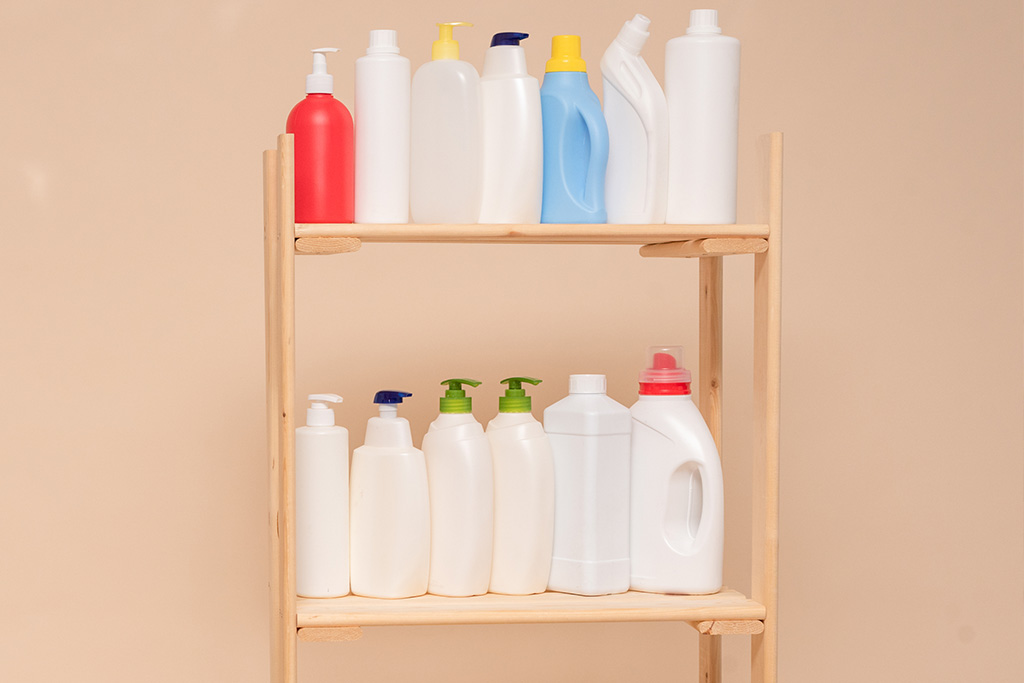
It’s essential that you store all cleaning solutions and disinfectants out of reach of young children and pets. Utilize the higher shelves in your home, and be sure to add a child-safety lock to any cabinet or closet that houses toxic products. Because of the chemicals in them, each item might have different requirements, so read each label to make sure you’re storing them correctly. For instance, most cleaners need to be kept at room temperature, and some contain potentially flammable ingredients, meaning they should be kept away from heat sources. And if you’re concerned about the toxicity of ingredients, consider switching to all-natural products or making them yourself. Some homemade cleaners are relatively simple to create—for example, you can create your own glass cleaner with one cup each of isopropyl alcohol, white vinegar, and water and fifteen to twenty drops of any essential oil.
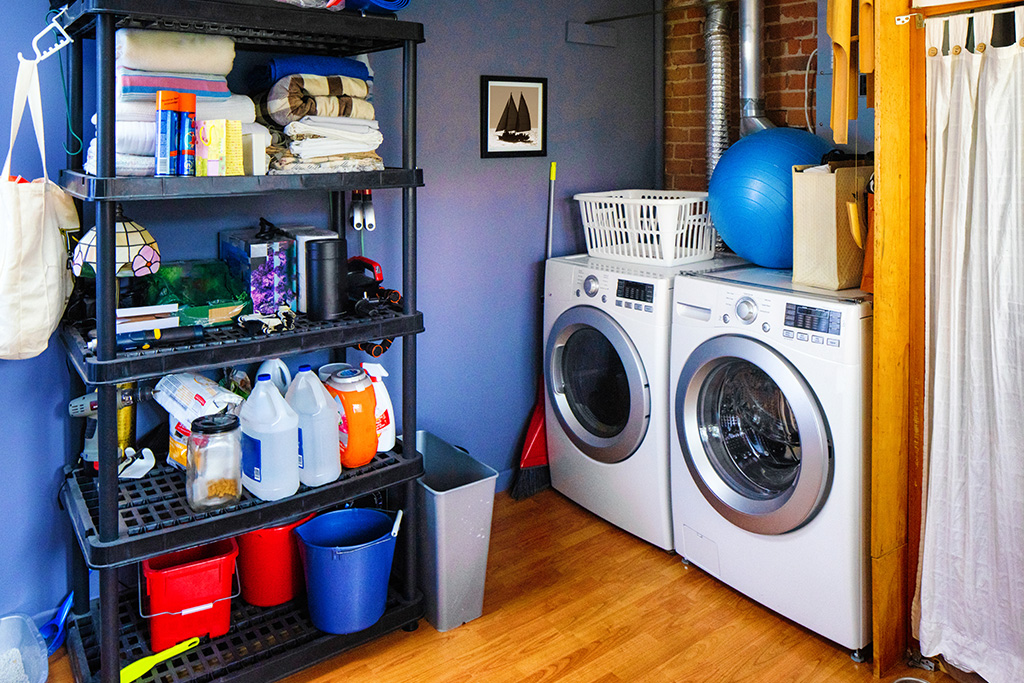
As long as it’s safe to do so, it’s a good idea to have most of your items stored together so you don’t have to search high and low and in every cabinet for a specific cleaner. An empty storage closet or extra space in your laundry room is perfect for this.
If you don’t have a lot of room, though, the backs of your doors can be great spots for storing supplies. You can better organize your items by using adhesive or over-the-door hooks on your kitchen cabinets, pantry door, or laundry room door. You can also add more usable space to a cabinet by purchasing a multitiered shelf, which will give you different levels to stack your supplies. And if you have absolutely no available space in your cabinets, closets, or laundry room, you can create your own supply closet by purchasing clear, airtight containers that you can fill and place anywhere in your home. (Just make sure they’re out of reach of pets and young children.)
As for larger supplies such as brooms, mops, and vacuums, find a place that is out of the way but easily accessible. Consider using hooks to hang light objects on a pantry or garage wall or in the same area as the rest of your supplies. This can help keep your bulkier supplies from taking up too much floor space and becoming a hindrance when you’re trying to get to the rest of your things.
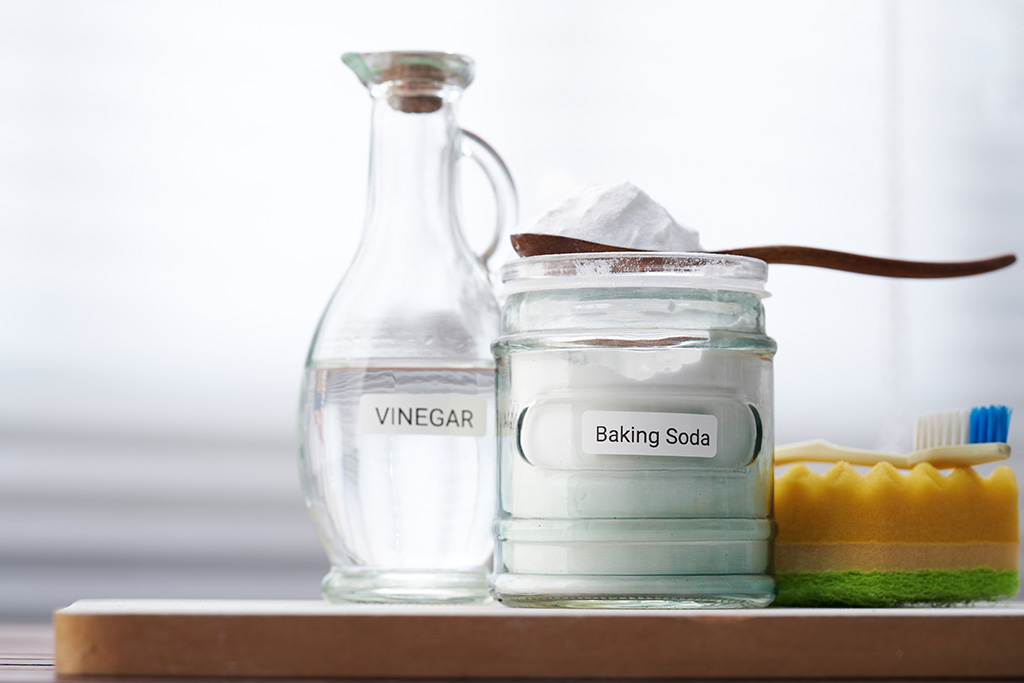
While most store-bought supplies have bright labels listing their specific purposes and ingredients, many people like to make their own cleaners or transfer store-bought solutions to more aesthetically pleasing containers. For safety purposes, always make sure to add an identifying label when you do this. Consider purchasing a label maker for a simple way to print the item’s name and ingredients, taking care to create a new label any time you change what’s in the container. This will help ensure that you and anyone else in your household don’t accidentally ingest a chemical mixture, use a bleaching product on the living room rug, or sanitize the kitchen counters with a bathroom cleaner.
To make your job as hassle-free as possible, organize your items according to how often you use them. After you’ve picked a space to store your supplies, move your most frequently used items to the front and your rarely used items toward the back. If you find there are certain cleaning supplies you tend to use together, you can purchase a caddy to keep them in and carry with you while sprucing up the house. Include a sponge, scrub brush, gloves, multipurpose cleaner, and anything else you find yourself constantly reaching for.
Organizing your supplies can help make cleaning just a little easier for you and your household, so take the time to find a place for everything—and try to keep everything in its place.
For many people looking to get in shape, it can be an achievement simply to fit in a workout. But how you exercise is just as important as what you do to exercise. Working out with the proper form and effort rewards you with even greater health benefits, like a reduced risk of heart disease and stronger bones and muscles. However, working out the wrong way means less-productive exercise and more potential for doing harm.
Even if you’re a dedicated gym junkie, reviewing the basics will help you master your technique when enduring advanced workouts—and even prevent issues like cramps or joint pain. Check out these steps to correctly perform five common foundational exercises.

Though one of the most basic yet productive exercises, jogging can take a toll on your body if you don’t proceed with good form. Before you begin, stand up straight with your head, neck, shoulders, and pelvis all in alignment.
While you jog, hold your chin level and look straight ahead. Keep your arms bent against your body with your hands at waist level, leaving them relaxed. Avoid bouncing or slouching as you step. Maintain an even stride, and try to land softly on your feet (i.e., don’t “slap” them onto the ground). Remember to breathe evenly; your breath fuels your workout.
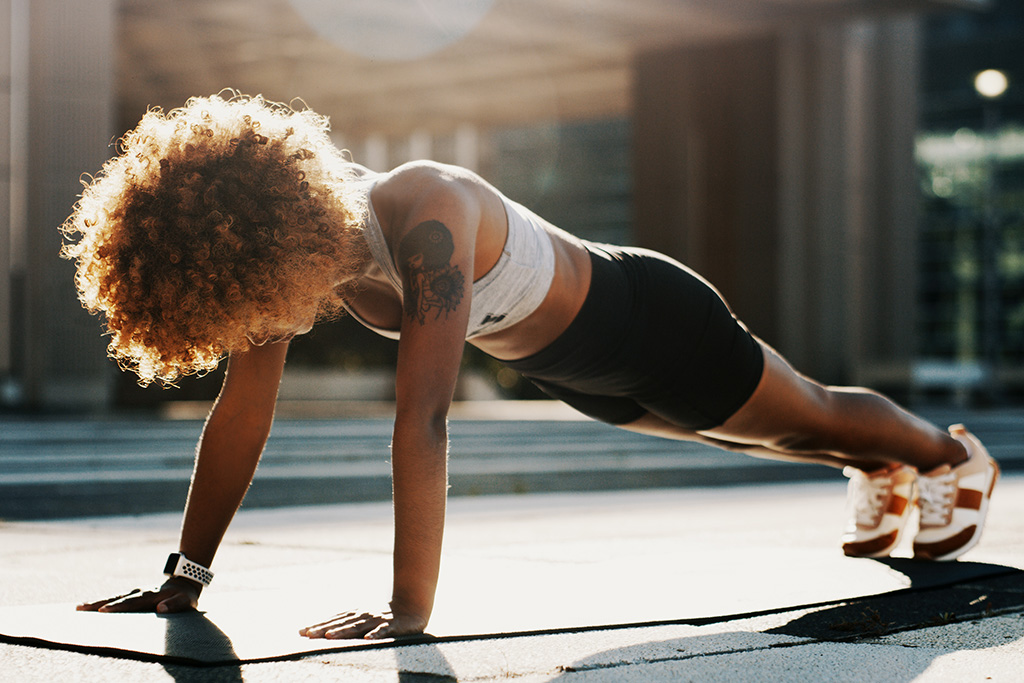
For the perfect push-up, get into a plank position with your hands next to your chest and your feet together behind you. Squeeze your core muscles and glutes, then pin your shoulder blades back, as if you’re trying to make them touch. Make sure your lower back is completely straight.
Lower at any speed you’d like, keeping your forearms pointing straight at the floor. Get as low as possible without your stomach or hips touching the ground. Then press back up with your arms into the plank position. Recheck your plank form before lowering again. Is your back still straight? Are your shoulder blades still pinned together? Repeat until you can’t sustain intact form—also known as the “failure” point.
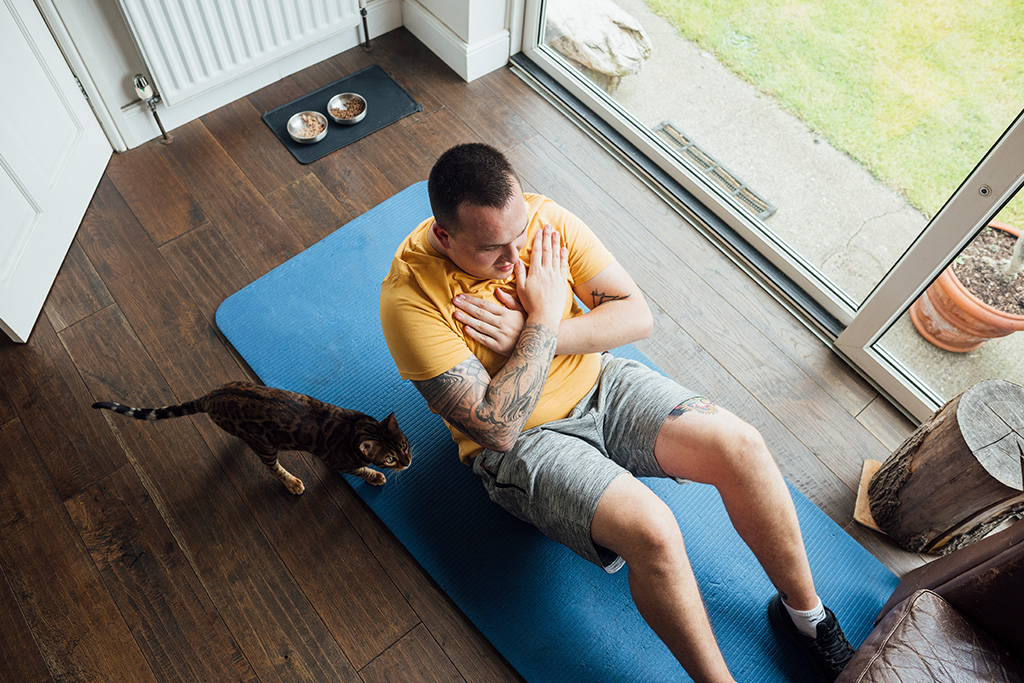
This mainstay core-muscle workout can put unnecessary strain on your neck, back, and hips if you don’t use the proper form. To begin, lie on your back, bend your knees, and plant your feet flat and hip-distance apart. Place your hands across your chest like a mummy.
Clench your core, inhale, and lift from your ribs, not your head, as if pulling them toward your pelvis. Keep your chin facing up rather than tucking it in toward your stomach. Lift as high as you can, then pause. Exhale, and lower your back to the ground. Don’t relax your core until the set is complete.

To protect your knees, back, and other joints, study proper squat form. Ensure that it’s second nature to you before adding heavy weights to your routine. First, set your feet hip-distance apart on the ground and line up your knees with your feet. Keep your back straight to protect your spine.
Consider these myths busted: you should not splay your knees out at an angle, nor should you dip your hips down to the ground. Rather, lower your hips until your thighs are just parallel to the floor, keeping your gaze forward and your back as straight as possible. Be careful not to let your knees protrude over your toes. Return to the standing position.

This classic weightlifting exercise is a favorite of powerlifters eager to test their limits, but bench presses can be beneficial for just about anyone. However, this is the only exercise in this guide that needs specific equipment, such as a pair of dumbbells or a barbell with plate weights. To perform bench presses safely, use a flat bench with a bench press rack, or enlist a spotter to assist you.
Lie on the bench with the weights or rack at eye level. Keep your spine flat, not arched, and your feet on the ground, if possible. Roll your shoulders back to engage your upper back, then reach up to clench the weights with your thumbs facing away from you. Suspend the weights above your body, and pause to ensure you can handle the weight level. If not, rerack the weights immediately or have your spotter help them to the ground.
Once you’re holding the weights above you, slowly lower them to your chest, keeping your elbows straight out to your sides and your upper back engaged. Continue to press up and down, exhaling as you raise the weights and inhaling as you lower them to chest level.
Remember to warm up for at least five minutes before each of these exercises to protect your joints and prevent muscle strain. Consider asking a friend, relative, or trainer to observe you as you work out, checking your form against these tips. Allow them to correct your form when necessary. Don’t be surprised if any of these five exercises suddenly feels more difficult; that may be a sign that you’re challenging your body at a different level. This will ensure a more intense and ultimately beneficial workout every time you practice.
Talk to your doctor or a trainer for more personalized exercise advice.
Download the Basic Workouts PDF
Small but mighty, seeds are powerhouses that populate our earth with a plethora of plants and trees. But they are also nutritional superfoods that can offer an abundance of benefits when added to your diet. Once overshadowed by nutrient-rich nuts, seeds are now gaining the accolades they deserve from scientists and nutritionists alike.
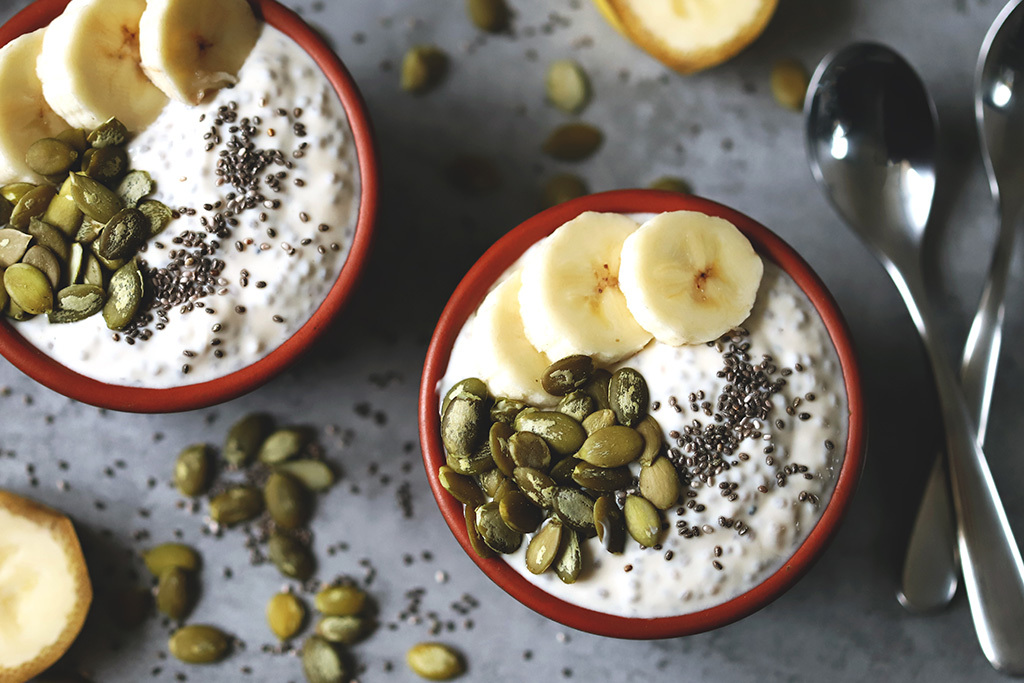
Besides giving life to much of what’s around us, seeds can be a good source of much of what we need to be healthy, such as disease-fighting antioxidants, anti-inflammatory and heart-healthy lignans, and healthy fats like omega-3 fatty acids. They also contain important nutrients like calcium, magnesium, iron, and other minerals and can help reduce blood pressure, cholesterol, and blood sugar when eaten as part of a nutritious diet. On top of all that, seeds are packed with fiber and protein, macronutrients your body needs.
Seeds can be a protein substitute for eggs and meats, and you can eat them raw, roasted, or sprouted. But as with other foods, you should enjoy them in moderation: consume only about one to two ounces a day. Besides their nutritional benefits, seeds can add a mild, nutty flavor and a satisfying crunch to food. Consider snacking on these seeds or adding them to your meals.
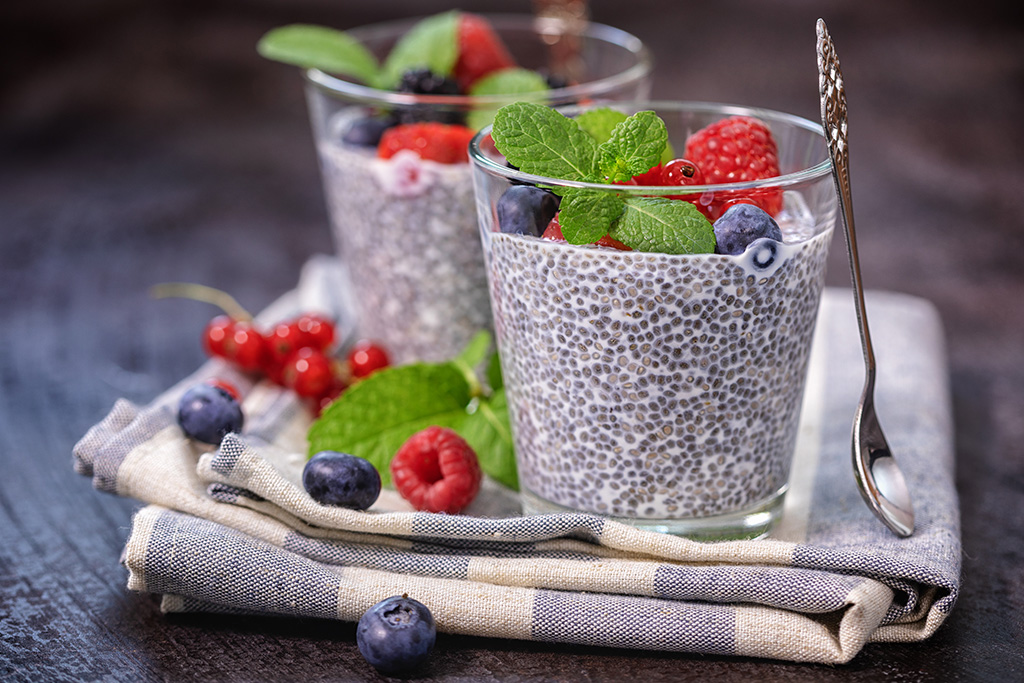
Chia
These tiny black seeds come from the desert plant Salvia hispanica, a member of the mint family that was an important part of the Aztec diet. Add chia seeds to oatmeal, popcorn, smoothies, or yogurt, or toss them into your bread, cake, and muffin recipes. You could also try making some chia pudding, a simple and delicious snack made with as little as four ingredients.
Flaxseed
The flax plant is one of the world’s oldest crops—in fact, it was used to make linens for wrapping mummies in ancient Egypt. Fiber-rich flaxseed (also referred to as linseed) can be ground and added to soups, sauces, and even pancakes.
Hemp
Smaller, softer, and higher in protein than some other seeds, hemp seeds can be incorporated into salads, soups, and smoothies. Note that hemp seeds come from a different plant than the one used to make marijuana and are safe to eat.
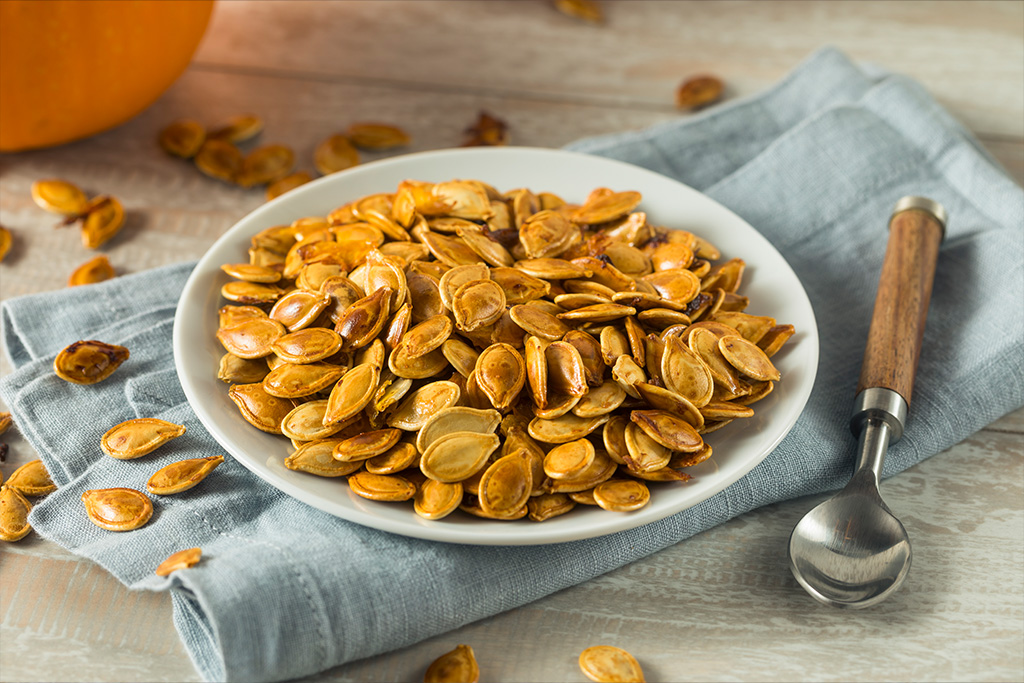
Pumpkin
These tasty treats contain tryptophan, a substance also found in turkey that may help induce sleep and relieve depression. Popularly roasted, they taste great mixed into cereal, yogurt, or granola. For extra crunch and more fiber, leave the shells on—they’re completely edible.
Sesame
Harvested from the Sesamum indicum plant of Indonesia, this popular seed is regularly used in cakes, cookies, crackers, and some Asian cuisines. It is also used to make tahini, a main ingredient in hummus. Sesame seeds are great additions to candy brittle, chicken, and noodles.
Sunflower
There are two main types of sunflower seeds. The ones with black-and-white-striped shells are mainly for snacking, while the solid black variety is most commonly used for feeding birds or making sunflower oil. You can purchase sunflower seeds with or without their shells, but you should not eat the shells. Snack on sunflower seeds, use them in veggie burgers, or spread sunflower butter on apples or crackers.
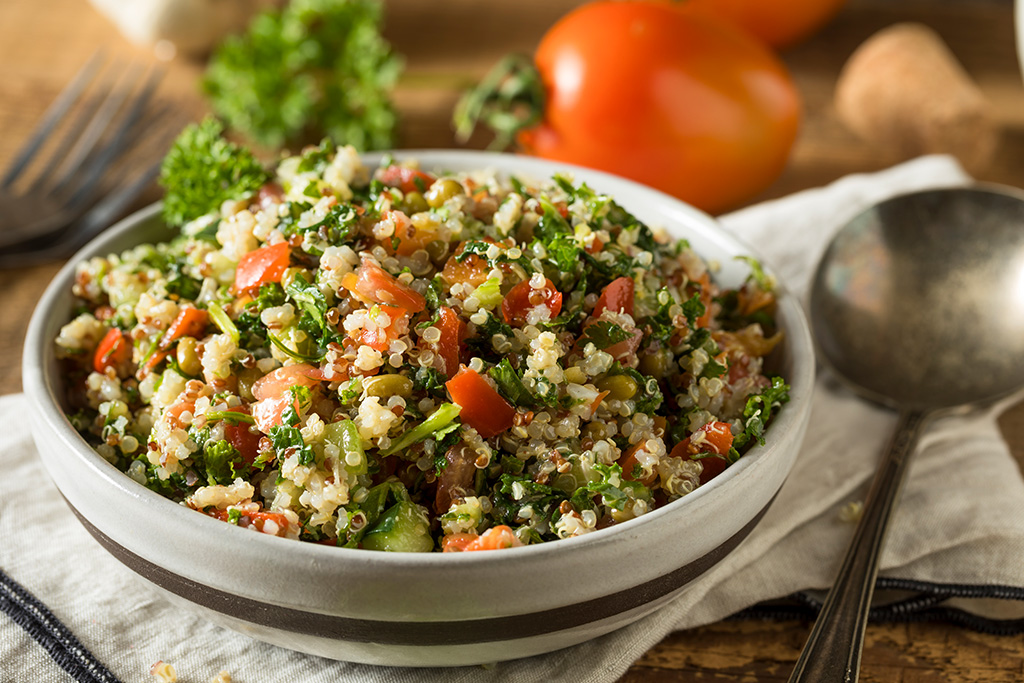
Quinoa
Quinoa, a naturally gluten-free pseudograin, is a seed from the South American plant Chenopodium quinoa and is one of the few plant-based complete proteins, meaning it contains all nine essential amino acids. It comes in a variety of colors, can be eaten as a rice or oatmeal substitute, and can be added to salads or mixed into vegetarian burger patties.
Tasty and inexpensive, seeds are a simple way to add nutrition to your diet. Start small with just one or two types, or incorporate a smorgasbord of these delicious morsels into your meals and snacks. Your body will thank you!
