October often brings many changes, so it’s a good time to make a few changes to your home. This issue of Good to Be Home is here to help you make your living spaces better and safer for you and your loved ones with tips for creating a fun room to listen to and display your record collection, easy ways to give your furniture a new look, a list of potentially dangerous chemicals to look out for, and advice for decluttering your rooms.
Vinyl records have become all the rage in recent years, with more people opting to collect records both old and new. The guide in this issue offers tips on how to best display your collection while designing an optimal listening environment.
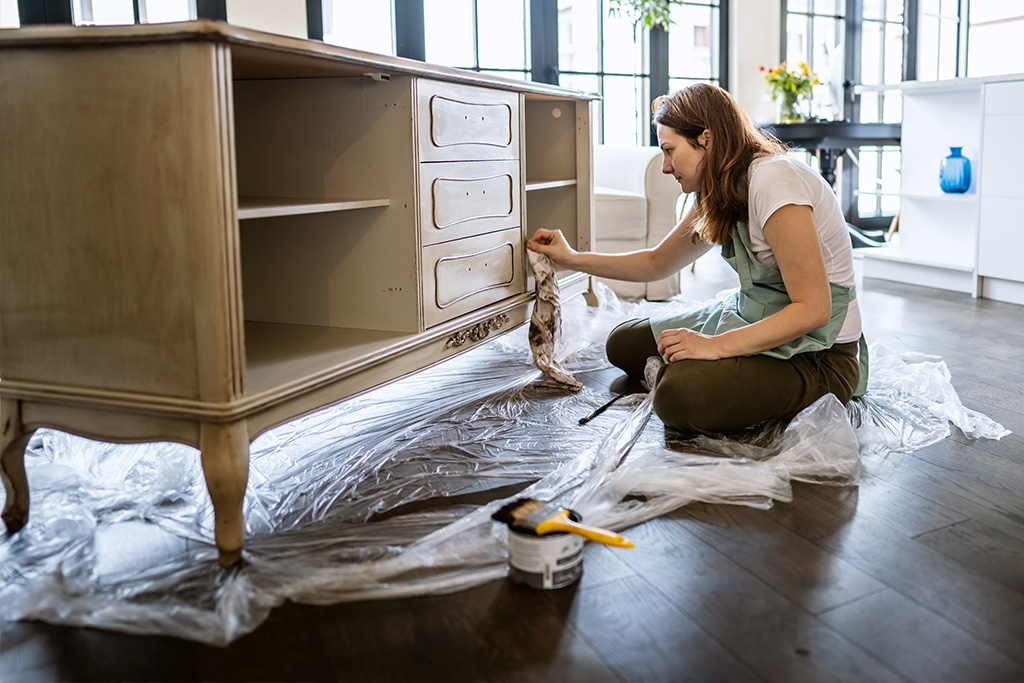
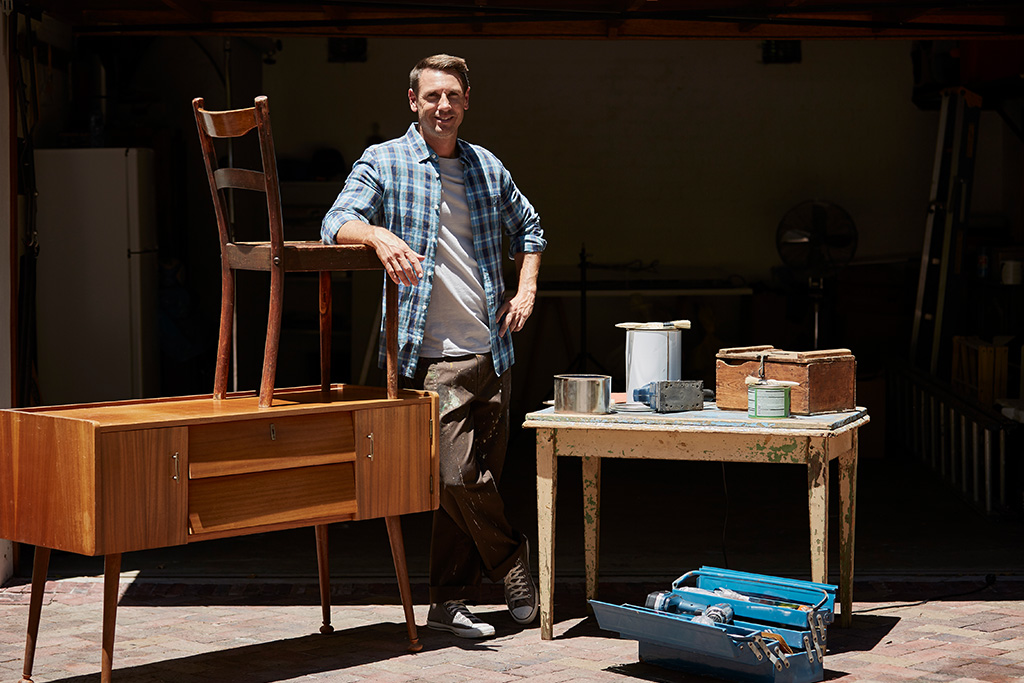
Before you buy a new piece of furniture for your home, look at what you already have and consider how you can give new life to it. There are numerous ways to give your furniture a fresh, new look, so be sure to check out the easy updates inside to easily transform different pieces in your home.
From cleaning supplies to toxic paints to insect repellents, there are many different harmful substances that might be right under your nose. Be sure to read the tips for chemicals to avoid and healthy alternatives to help keep you and your loved ones safe.
As time goes on, we often collect more things in our living spaces. So whether you’re moving to a smaller home or simply want to declutter, the enclosed guide explains the four steps that can make downsizing easier.
Here’s to creating a home that is fun and safe for everyone. As always, it’s a pleasure to send you this magazine.
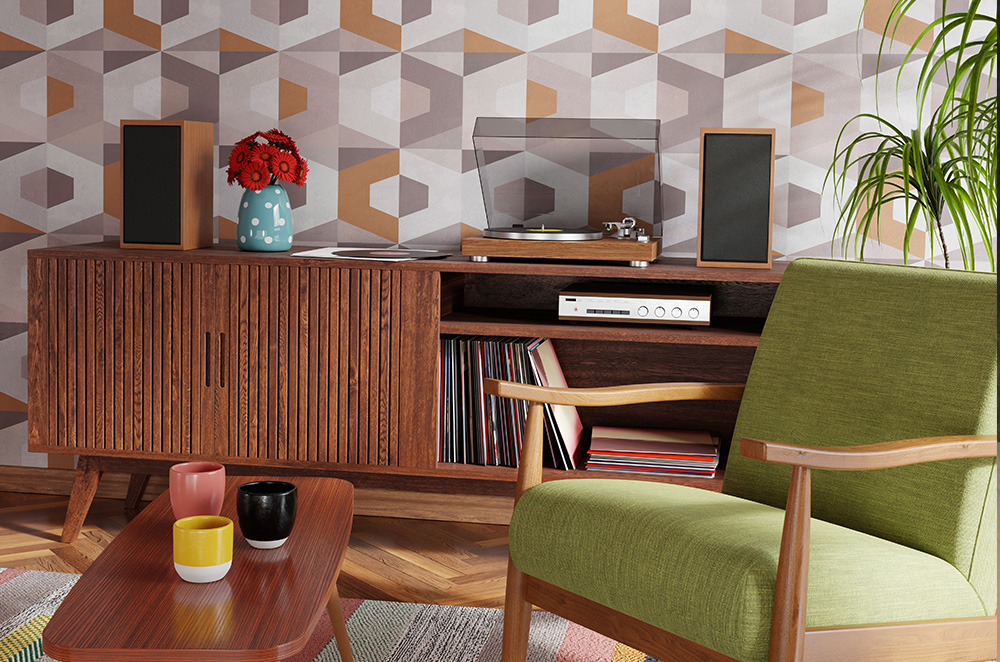
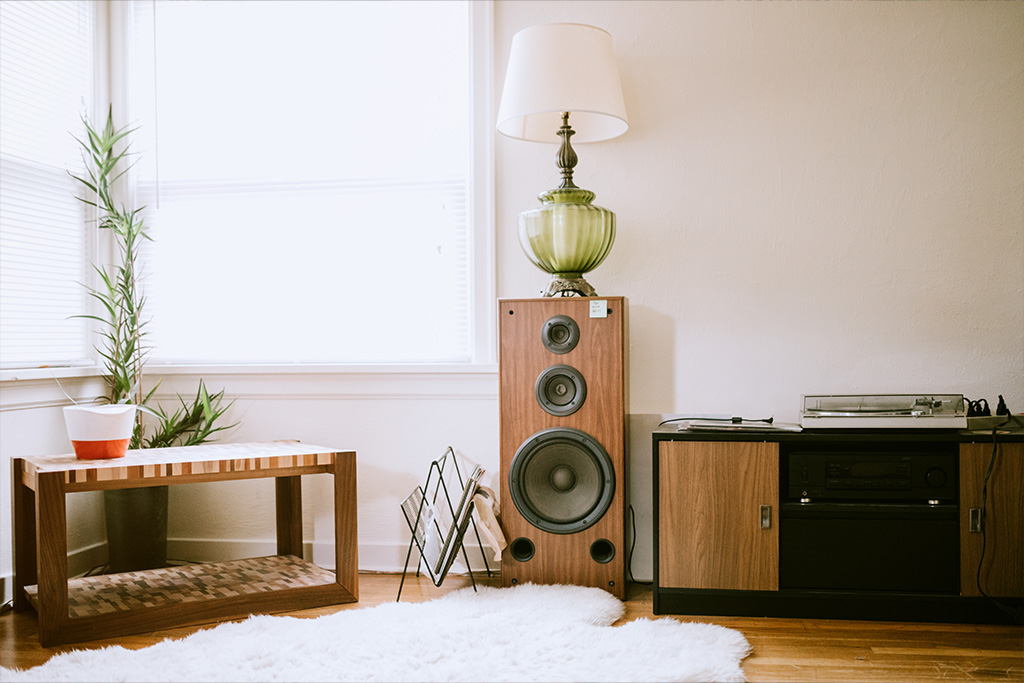
Now that music enthusiasts are spinning vinyl records again, listening rooms are in vogue. These spaces can give you a place to crank up your favorite tunes, store your collection, and display your favorite vinyl art. Use these tips to create a space that matches your groove.
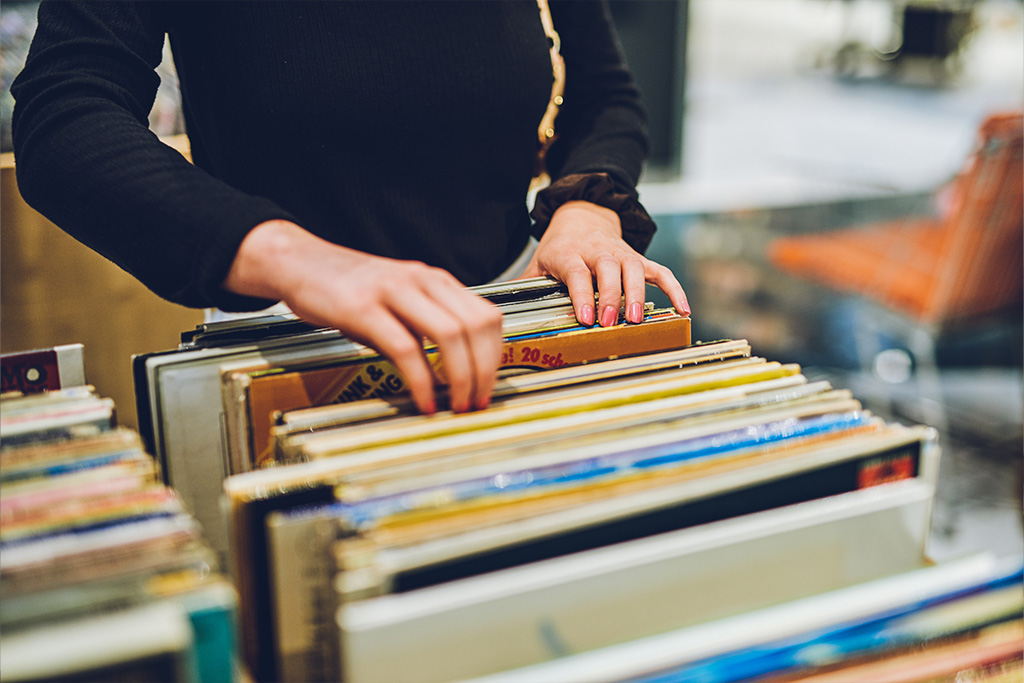
Before you can design a spot for enjoying vinyl, you’ll need some records. You can purchase them new from multiple retailers or hunt for used ones online or at garage sales and thrift stores. You might have friends or relatives who have old record collections they’d be willing to share, but keep in mind that some vintage vinyl can fetch thousands of dollars.
The next step to creating your record retreat is choosing a suitable location, such as your family room, an extra bedroom, or even a small corner of your home if space is limited. If you want to share your musical haven with others, you may need a bigger area, but if you’d prefer a personal retreat, a private room or even a tiny nook may work. Ideally, your setup should be away from noises and distractions that could mar your listening experience. Also, for this reason, a room with a door you can shut may be ideal.
You could buy an affordable all-in-one suitcase-type turntable kit with built-in speakers for playing your records, but audiophiles say these entry-level record players, which often have a fixed stylus that can’t be replaced when it wears down, are likely to scratch your records and ruin your vinyl. It’s best to spend a little more on a better-grade turntable with a needle that can be replaced and a built-in preamp to make connecting your turntable to your speakers easier. To spend less money on your setup, you could look into purchasing a used turntable.
To keep your records in top condition, store them upright in their original sleeves and jackets rather than laying them flat or stacking them, which can warp or damage them. You could put your turntable in an album cabinet or a wooden crate, and perhaps add a bookshelf or desktop album organizer to hold more vinyl.
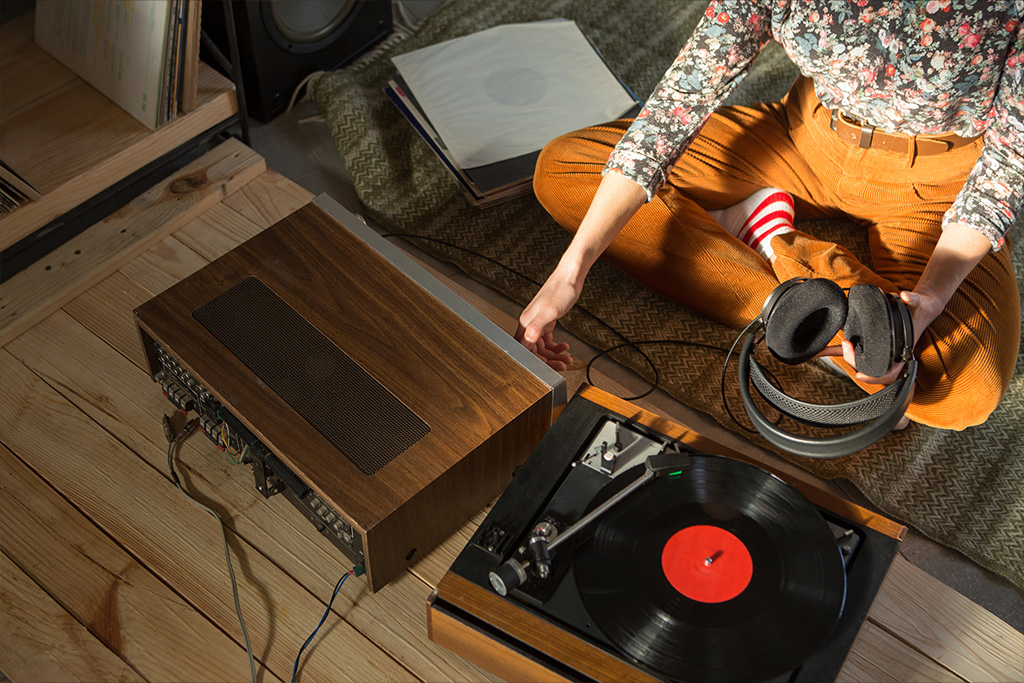
To keep your records in good condition, consider getting a record-cleaning kit. You also may want to use headphones with your turntable, but to do so, you might need a headphone amplifier or a receiver with a dedicated headphone output. Most vinyl enthusiasts don’t recommend listening to vinyl with Bluetooth headphones, which will digitalize your music. But if you’d like to use Bluetooth headphones, you’ll need a Bluetooth-enabled turntable or a Bluetooth transmitter.
It’s important to carefully consider the acoustics in your space because the sound from your stereo system can bounce off bare walls and other hard surfaces and negatively impact your listening experience. So try to add materials to absorb some of these sound waves. You could hang long noise-reducing drapes behind your speakers or add a thick floor covering like a colorful shag rug. Even a row of bookcases filled with your records can help reduce some of the sound reflection in your space. Potted plants can also improve the acoustics while freshening the air.

Comfortable seating will allow you to relax when listening to your favorite tunes. For example, a midcentury-modern chair can impart a vintage look, while a sectional sofa can provide room to stretch out. Or you could simply add some big floor cushions to make a comfy sitting area.
Finally, add some finishing touches. You can display your vinyl cover art in clear album frames hung on a wall, make your room light and bright by painting your walls white, or go for a relaxing atmosphere with a darker hue. Try washing your space in color, or dim the lights by fitting a lamp with a smart LED light bulb.
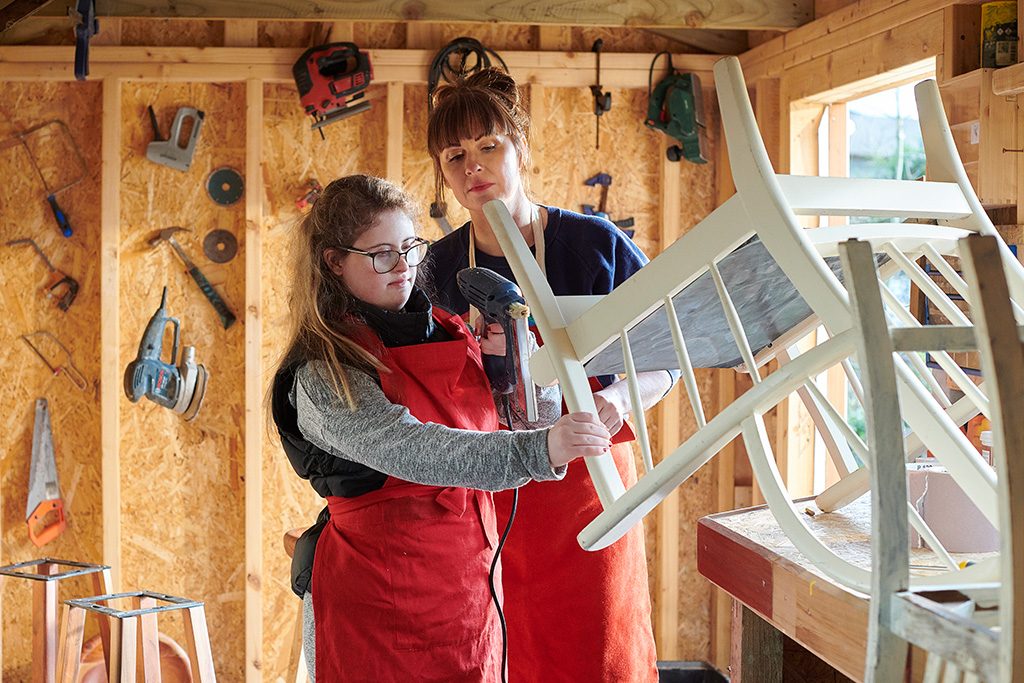
You don’t have to be an interior designer, a painter, or even artistically inclined to transform an old or outdated piece of furniture into something contemporary and appealing. Whether you want to refinish or repaint an old wood chest, update the hardware on drawers and cabinets, or just add simple touches to modernize your furniture, it can be fun to see what a few inexpensive tweaks can do.
Decide which piece of furniture you want to update
Has a certain design or style of furniture inspired you? If so, compare it to the piece you want to update and decide if it’s reasonable to obtain the look you want. Also, determine if you think its color, size, and shape will fit nicely into the intended space or if you want to move it into a different area of your home.
Take it one project at a time
If you’ve identified more than one piece of furniture that you want to make over, only do one piece at a time rather than updating them simultaneously. Once you’ve seen the finished product, you may change your mind on how you want to update other pieces.
Research tutorials
Do the appropriate research on how to refinish, paint, or reupholster the piece before you get started. If this is your first project, make sure you understand the processes to get the best results. If this is not your first rodeo, there are always new and updated techniques to learn and incorporate into your design.

1. Paint or stencil
Whether you’re stenciling or applying a rich coat of paint, the transformation can be surprising. For example, you can paint your furniture piece to match the walls. If you want to strip, sand, and restain, you can convert a dark wood to a lighter tone, trade out a shiny finish for matte, or swap chrome for a darker metal. If you prefer to stencil rather than go through the painting process, you can still create a decorative, artistic look for your piece.
2. Hardware
One of the easiest and least expensive ways to update your furniture is by swapping outdated hardware on dressers, doors, or cabinets for a fresh, modern look. There are a plethora of designs to choose from at retailers like Anthropologie, Crate & Barrel, and IKEA, as well as home-supply stores.
3. Washi tape
Washi tape is a great product to use for updating furniture. Much like duct tape, it will stick to just about any surface, you can cut it to size, and you can remove it if you make a mistake while applying it. Washi tape has become increasingly popular and is available in hundreds of designs and colors. Using it to add unique patterns or funky details to your furniture can be much simpler than painting or staining.
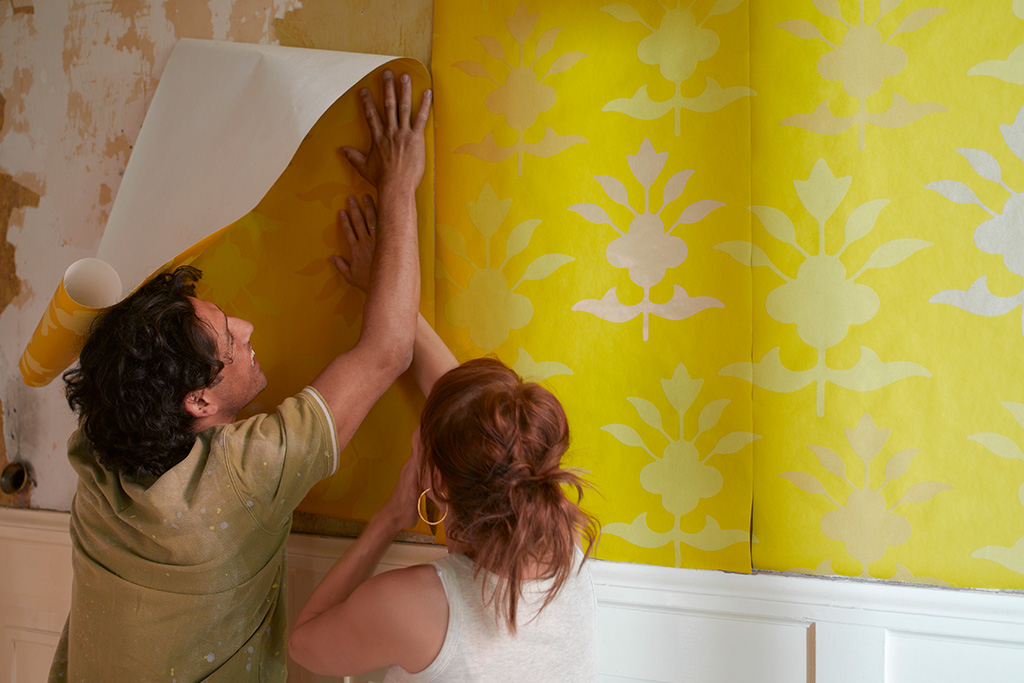
4. Wallpaper
Wallpaper isn’t just for walls. It can add bursts of color, design, and patterns to a piece of furniture, giving it a whole new look. You can use peel-and-stick wallpaper to line drawers, bookshelves, or the tops of furniture. Most can also be removed without damaging the paint or finish underneath. Wallpaper can be a temporary fix if you have plans to eventually refinish or replace the piece.
5. Slipcovers
If you have a favorite chair or sofa that’s structurally sound but has fabric with stains, small holes, or wear and tear, it can easily be fixed by covering it with a slipcover. Slipcovers are available in many colors and sizes, and utilizing one will give your room an instant face-lift. And to spice things up, consider investing in a few colorful or decorative pillows.
6. Repurpose
If you have a piece of furniture that is still in good condition but is outdated and no longer fits in its current space, consider moving it to a different location or repurposing it by changing how you use it. For example, convert an old dresser into a bookshelf by removing the drawers and any accompanying drawer rails and adding thin but sturdy wood panels for shelves if need be. You can even use it as a window seat by removing the legs and covering and upholstering the top with a cushion in a fun color or pattern.
7. Bar cart or TV stand
Don’t be quick to throw out your old bar cart or television stand. With a little ingenuity and inspiration, you can turn an old item into a great accent piece. One such way is to tile all or one of the shelves with mosaic tiles, paint it a vibrant color, or stain it with a lighter, more neutral wood finish.
8. Tables and chairs
If your kitchen or dining room table and chairs have seen better days, you may not need to spend money on new ones. There are techniques you can use to fix white ring stains, chipped wood, small cracks, or dents, such as applying wood epoxy or filler for chips. If your goal is to modernize the table’s look, consider swapping out the table legs to create a completely different appearance. You can even paint them with a contrasting color from the tabletop.
9. Headboard and footboard
Are you tired of your old headboard and footboard? An update may not be as difficult as you think. Consider spray-painting them with a contemporary color to brighten your bedroom. And don’t be afraid to experiment with color—whether you add it to the entire headboard and footboard or incorporate just a pop of color to liven things up. You can also upholster your headboard; there are a variety of tutorials on sites like Pinterest to help with this.
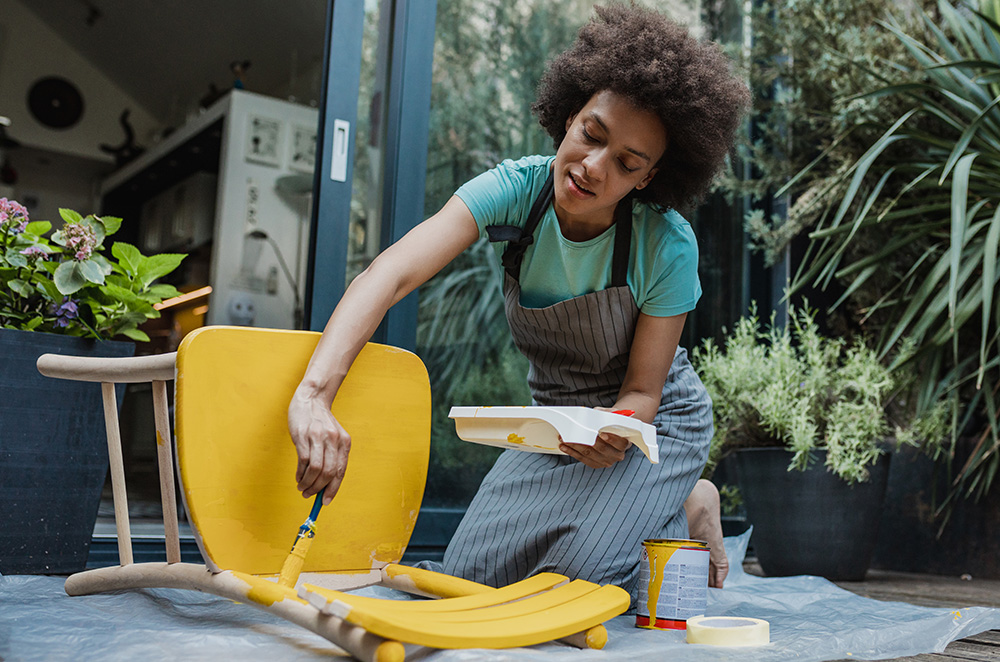
10. Outdoor furniture
Don’t retire your outdoor patio furniture just yet. You can update your scuffed or rusted table and chairs by painting them with a vibrant gloss lacquer color. If you have a wooden bench that needs some TLC, you can bring it back to life by spray-painting or applying a fresh coat of colored sealant. Then finish off your new outdoor look by adding some decorative chair cushions and pillows to the mix.
When it comes to revitalizing or reusing furniture, your options for transforming them are only limited by your imagination. Check out the plethora of ideas and how-to videos at your fingertips online for even more inspiration, and let your creativity shine.
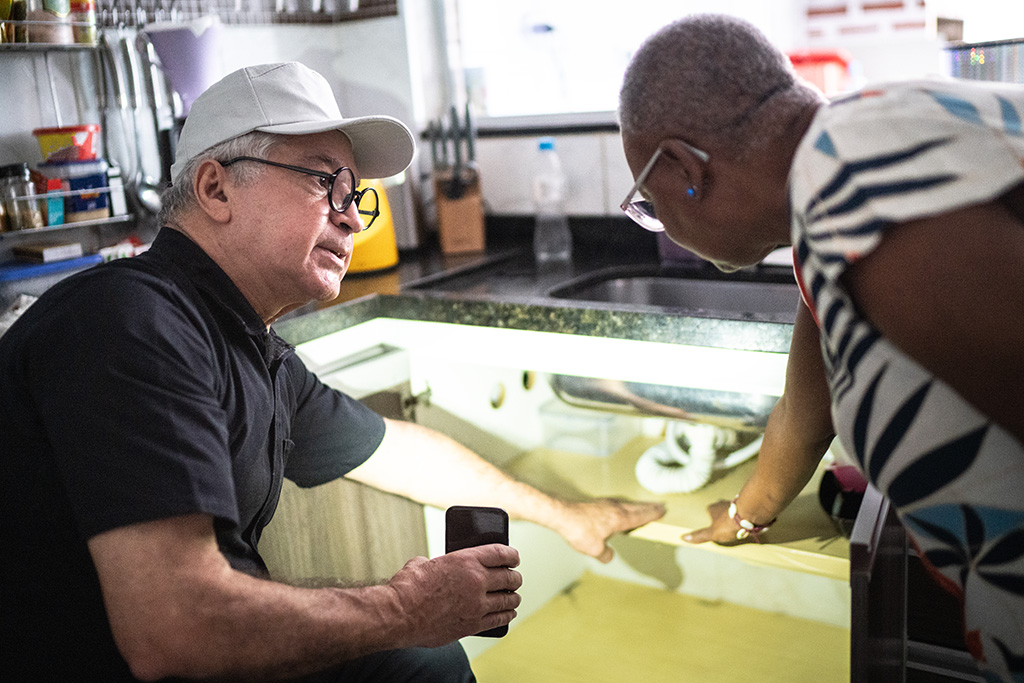
Your home should be your refuge, a place to retire at the end of the day and join your loved ones in a calm ambience. What your home certainly should not be is chock-full of common household hazards. These are some of the most unsafe substances you could be harboring indoors, putting yourself, your family, and your pets at risk.
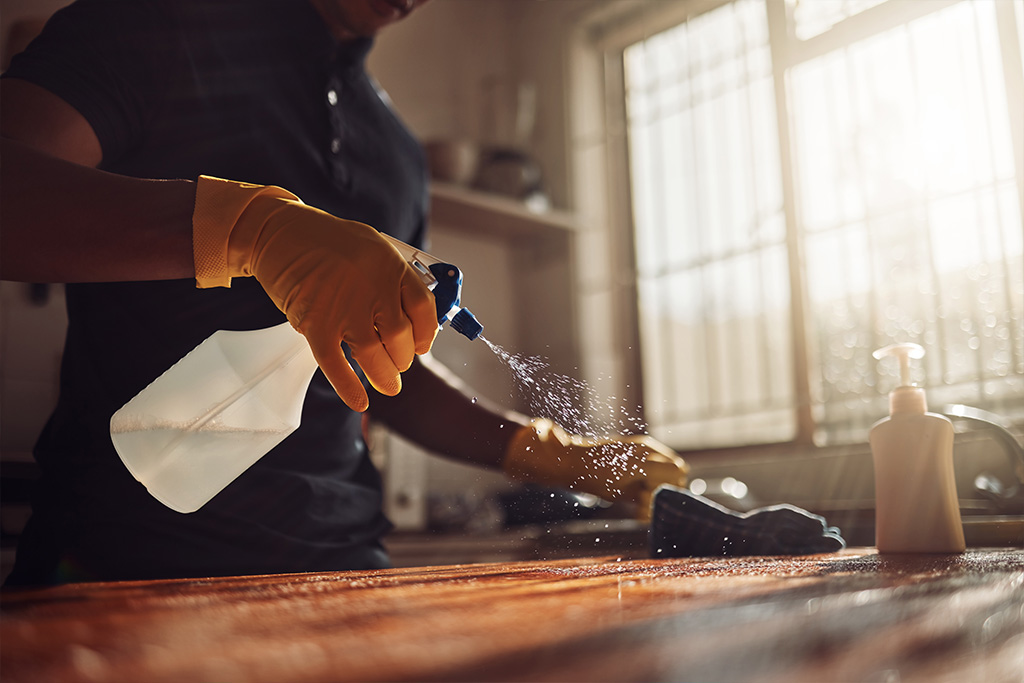
Ironically, common cleaning supplies can actually add more harmful substances to your home surfaces than they remove. After all, household products like bleach, glass cleaner, carpet cleaner, and surface disinfectant aren’t necessarily designed to be safe; they’re designed to be effective against dirt, grease, and germs.
The natural-cleaning-solution experts at Grove Collaborative compiled a list of the “Terrible Ten” chemicals to avoid. These include formaldehyde, triclosan, and ammonia, each of which is common in household cleaning and fragrance products. These chemicals lead to known health hazards, including lung irritation, immune system disruption, and even a higher risk of developing cancer. Consider switching to natural cleaning products that are free of hazardous chemicals, like a simple, all-purpose cleaner made with white vinegar, water, and lemon oil.
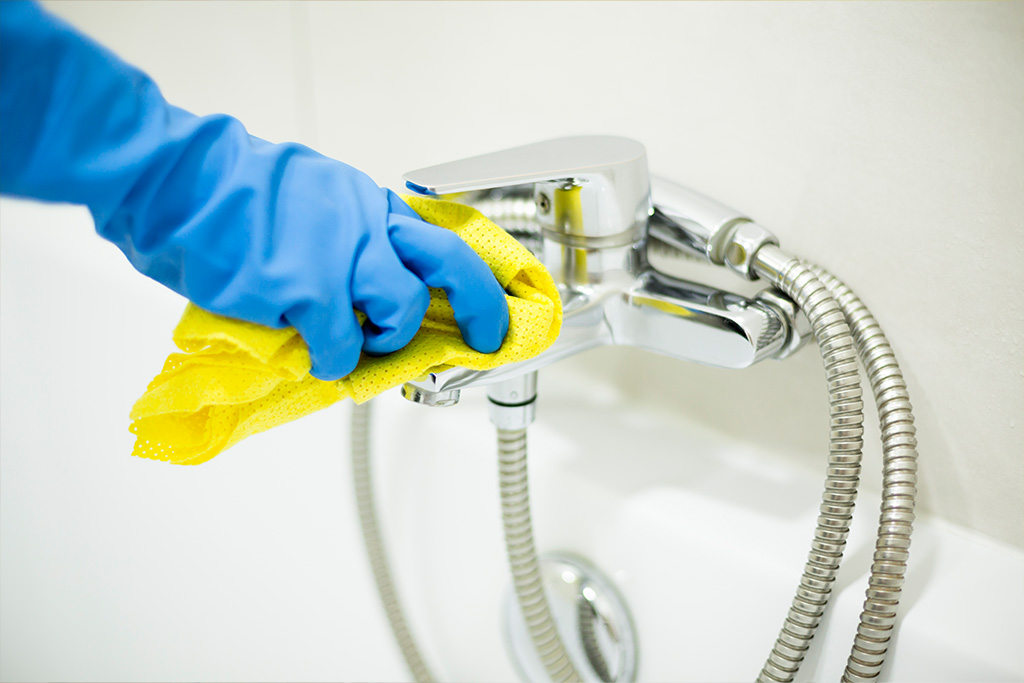
Of course, you shouldn’t neglect your home’s cleaning needs. This can be just as dangerous as using hazardous products, if not more so. Mold, bacteria, and other small organisms grow very easily indoors, especially in areas with high foot traffic, on eating or cooking surfaces, and on plumbing fixtures. Clean these areas at least once a week to prevent toxic buildup that can make you ill through direct contact or even breathing contaminated air.
It’s especially important to clean and sanitize surfaces after cooking to prevent food cross-contamination. Bacteria like salmonella and parasites like Trichinella are commonly spread through unsafe food handling. For an extra step against illness, consider washing reusable shopping bags and cleaning refrigerator surfaces regularly.
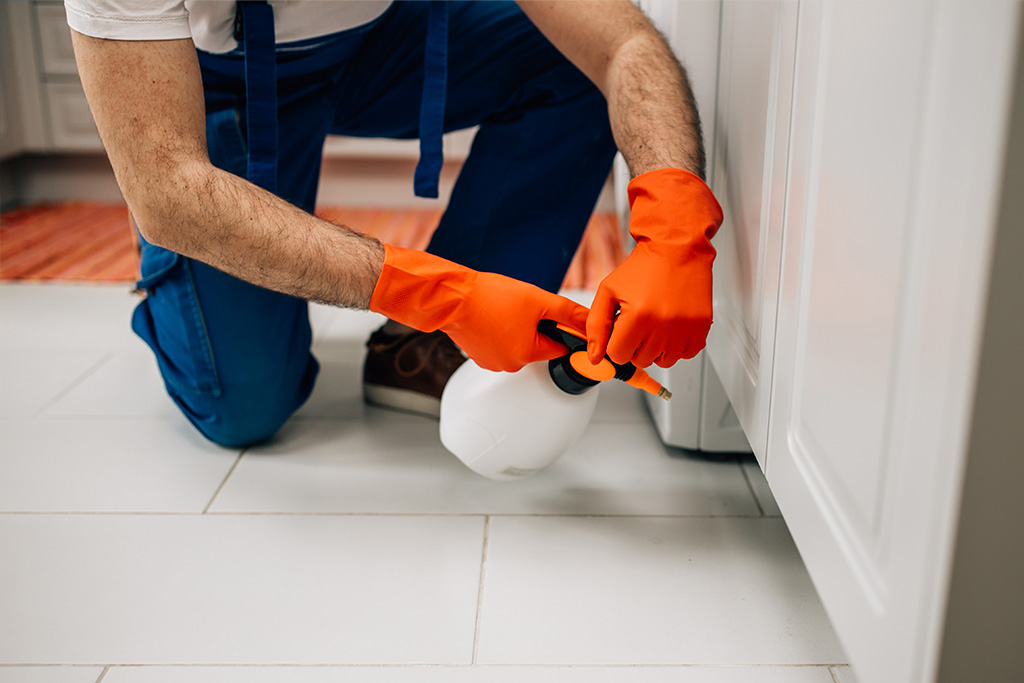
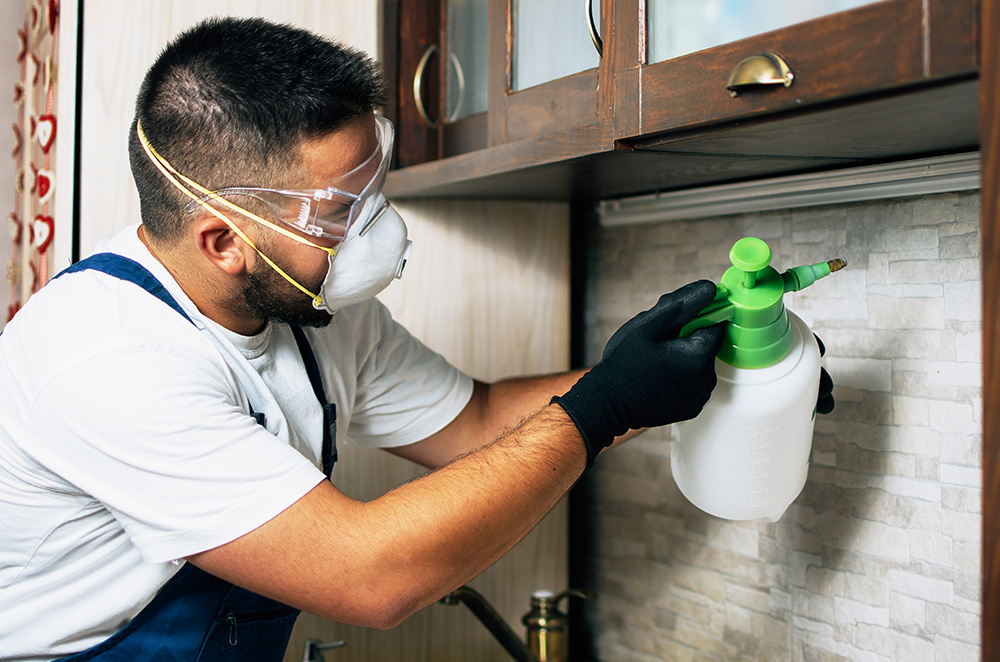
Pests can track several deadly microbes into your home, including salmonella and asthma-causing pollutants. However, many pest-control products can be more harmful than the bugs they’re meant to kill, even if pest removal keeps your goosebumps at bay.
First, some pest-control products are far too accessible to children. Mothballs, mousetraps, and bait blocks may trigger your children’s or pet’s curiosity and lead to accidental poisoning. If you do use these products, only place them where children can’t reach, like behind the stove or atop high cabinets.
Secondly, pest-control sprays can contain toxins harmful to humans. Some can irritate the skin and eyes, even without direct physical contact, while others can cause cancer after long-term exposure. Your risk varies by product, so the best thing you can do is check the EPA’s website and use its product search tool. Verify that every pest-control item on your shopping list is safe for your family before you take it home. You should also check any pesticides you currently own against the EPA’s health assessment list.
If you hire a pest-control service, ask them to explain what products they’re using so you can confirm that they’re safe for your family. For an extra safety step, you can even seek out services that use natural, safe solutions like essential oils to deter pests.
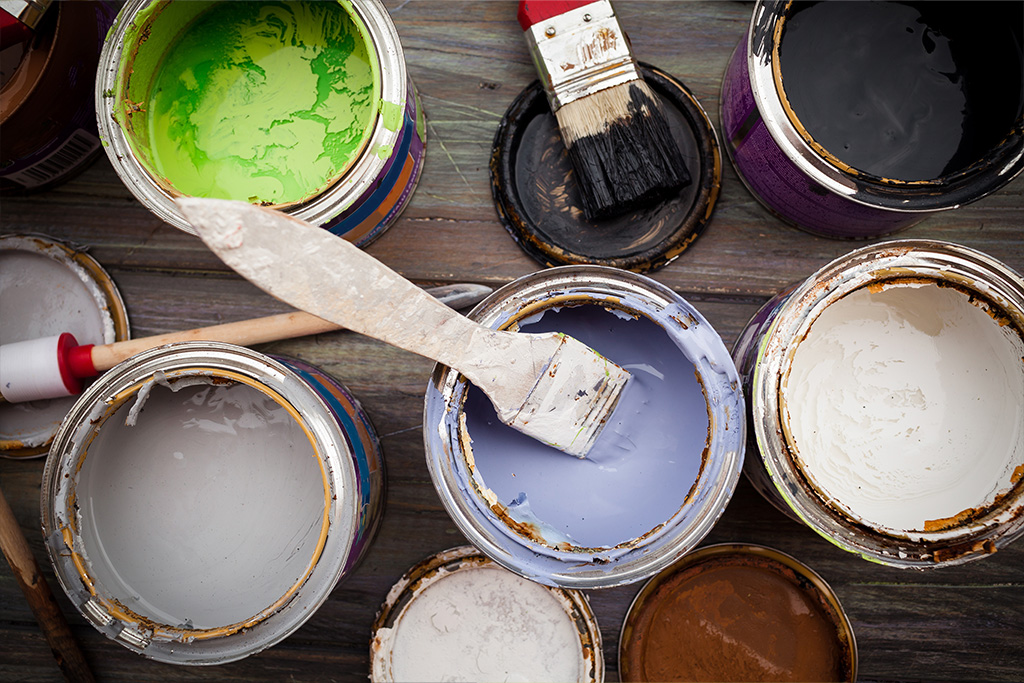
Manufacturers often mix a host of unnatural substances into household paints. However, some of the chemicals that make paint weather resistant or shiny may put your family at risk. For example, parachlorobenzotrifluoride (PCBTF) is a solvent that has been known to cause cancer. This product can also be found in caulk, primer, and polyurethane floor finish.
Even more common are volatile organic compounds (VOCs), such as formaldehyde, which contribute to that renowned fresh-paint smell. Unfortunately, these substances also give paint toxic properties that can make you sick.
So what can you do to avoid or even remove these toxins? Seek out nontoxic paint products, and be sure to only use indoor-appropriate paints inside your home. For example, Apartment Therapy has a shopping guide to safe paints on its website.
When you hear the phrase “hazardous building materials,” one specific substance may come to mind: asbestos. However, despite the proven health consequences of asbestos exposure—including asthma and lung cancer—asbestos is still in use to this day. Many materials, including roofing, caulk, drywall, and some flooring are still made with asbestos.
Other hazardous building materials still used today include lead in wires and paint, mercury in heating and cooling systems, and radioactive chemicals in some tech devices like smoke detectors. If you’re concerned about hazardous materials in your home, get in touch with a local home inspector. A real estate agent could provide recommendations for inspectors; start with the agent who helped you purchase your current home.
An inspector can evaluate areas of concern and, if necessary, enlist a testing service to check for hazardous chemicals like asbestos and mercury. Based on the results of these tests, you can determine how to proceed. You may even choose to have certain materials, such as flooring that contains asbestos, replaced by a professional.

Overall, there are many potential areas of concern in the average American home. It’s easy to feel stressed or even paranoid about hazards around you, but it’s equally easy to take actionable steps to keep you and your family safe.
It’s easy for clutter to build up over time, especially if you’ve been in your home for a while. And if you are exploring the possibility of moving to a smaller home or just need to eliminate clutter, there are steps you can take to simplify the process.
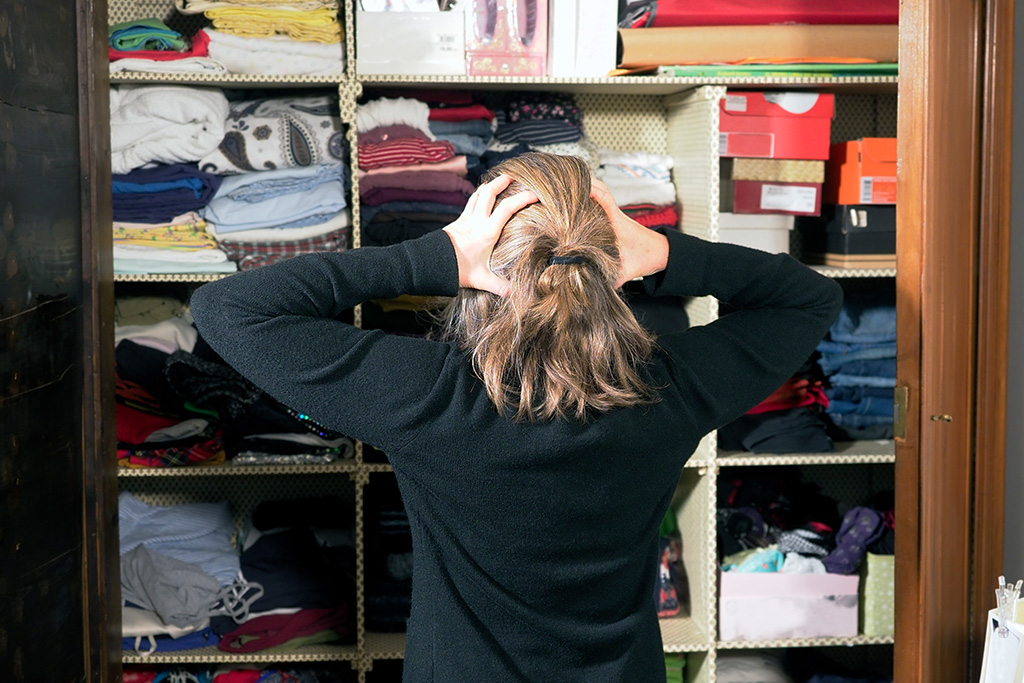
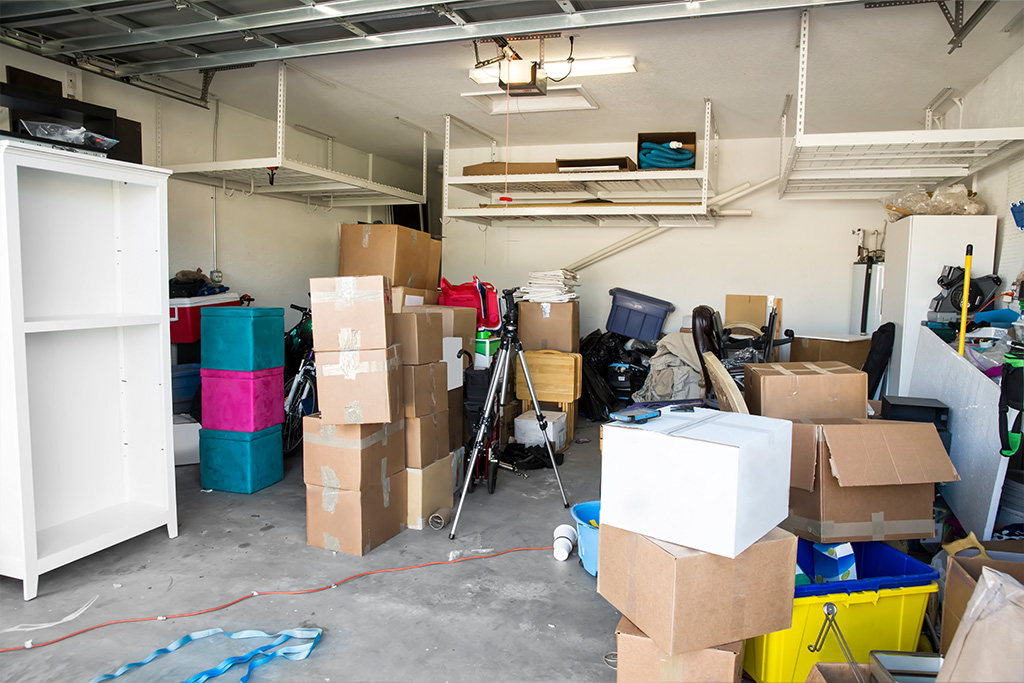
Do your belongings no longer fit into your closets? Are unused items stored in your basement or attic? Are you unable to put your car in the garage because it has become a storage room for all your stuff?
If you answered yes to any of these questions, you need a decluttering strategy. Barbara Berman, a certified professional organizer and founder of BB’s Clutter Solutions, says that to make your decluttering process easier and less stressful, you should implement a SMART goals approach, which she defines as specific, measurable, achievable, realistic, and timely. Berman also suggests that it’s a good idea to double your estimated time to complete each project as it always takes longer than expected.

It’s important to go into this process well-prepared. Develop SMART goals for your decluttering endeavor with the following parameters in mind.
Specific
Remain intentional with your decluttering efforts. For example, instead of having a general goal of cleaning out a bedroom, specify your goals: remove everything from the closets and from under the bed, dust everything off, and sort through what to keep, donate, and toss. Also, stay in one area until everything has been sorted through. If you find things in the wrong place, set them aside and come back to them later.
Measurable
Create criteria to help you to stay in control of each project. For example, if your goal for the day was to purge ten items from your bedroom closet, were you able to do it? If not, determine what caused you to fall short, such as getting distracted or perhaps spending time on other chores that weren’t as high of a priority. Take stock of your accomplishments, and recalibrate if needed.
Achievable
Depending on the amount of work you need to do, be mindful that it may take longer than anticipated for certain decluttering projects. For example, cleaning your garage, basement, or attic will likely be a multiday project rather than a few hours.
Realistic
As Berman suggests, you should avoid biting off more than you can chew. Maybe allocate additional time for larger projects during weekend days and complete smaller tasks throughout the workweek. Just remember, Rome was not built in a day, so you shouldn’t expect to complete all your goals in one day, either.
Timely
As you begin decluttering and downsizing, be mindful of how much time you can allocate to it in your schedule; commit to it by entering a block of time into your calendar, making it part of your to-do list. Also, be sure to pick a time when your energy level is at its highest, especially for organizing areas of your home that need extra attention.
As you begin the sorting process, it’s best to gather items you no longer need. The following list can help you identify things that are only taking up space. Make sure to check with your city’s or township’s ordinances for the proper way to dispose of such items.
Obsolete electronics and office supplies: DVDs, CDs, VHS tapes and players, phones, computers, printers, cords, wires, phone chargers, unused Post-it note pads, broken pens, and empty printer cartridges
Old clothing: unmatched socks, ill-fitting or never-worn clothing, workout clothing, worn shoes, and baby clothes or hand-me-downs
Broken items: yard equipment, outdoor furniture, decorative items, furniture, basketball hoops, bicycles, baby strollers or swings, grills, and old coolers
Paper products: outdated magazines, coupons, take-out menus, calendars, product manuals, and receipts
Bedding: old or worn sheets, towels, blankets, pillows, and mattresses
Kitchenware: mismatched containers and jars, broken, chipped, or excessive dish and glassware, novelty appliances such as a waffle maker, unusable cutlery, and broken kitchen appliances
Bathroom supplies: outdated toiletries, travel bottles, old nail polish, and expired makeup, medications, and sunscreens
Miscellaneous items: wrapping paper, gift boxes, old holiday or birthday cards, old or unused board games and puzzles, books, excess plastic or wire hangers, leftover paint, unused craft supplies, dead batteries, and old exercise equipment

Once you have gathered the aforementioned items, you can start the sorting process for what stays and goes and who it will go to. And the most efficient way to do this is to place your belongings into the following labeled piles.
Items to keep
As you start to move through each room in your home, set aside the things you know you want to keep and will continue to use. However, you may come across something that you’re not sure about. Berman says it’s OK to revisit the item later—you can change your mind if you want to.
Items with sentimental value
If you’re a collector of memorabilia and family heirlooms, keep those most special to you and share the remaining collectibles with your children or other close family members (if they want them). If you have been saving your children’s early childhood artwork, baby clothes, and other meaningful baby items, perhaps offer them to your kids. Also, scan meaningful letters, postcards, and photographs, and save them on your phone, computer, tablet, or a hard drive for safekeeping.
Items to sell, donate, or consign
Consider selling or consigning your unwanted items, such as well-preserved clothing, furniture in storage, books, or other household items you no longer want or need. You can also donate your items to places like Goodwill, the Salvation Army, and the Purple Heart Service Foundation.
Items to shred or recycle
Eliminate paperwork that has accumulated over the years. This may take time, so don’t try to do it all in one sitting. To prevent identity theft, properly discard sensitive documents by taking them to a licensed shredding company.
Items to trash
Keep garbage bags handy for all the things you will be discarding. Once you have removed them, you’ll have a better idea of the type and number of storage containers you will need for items you’re keeping.
Getting started is always the most difficult part of decluttering your home, but once you put a plan in place and set goals, you can move through this process with ease.