
Gift Wrapping Made Simple


When it comes to giving gifts, you’ve probably heard that it’s the thought that counts. But there’s a visual component to thoughtfulness as well, including how neatly and attractively you present your present. Do it well, and you can wow the recipient, setting expectations for a jaw-dropping gift before they even unwrap it.
That said, this skill doesn’t come naturally to everyone. If wrapping gifts feels unnecessary or unnecessarily difficult to you, use this guide for successful results.
Gather your goods
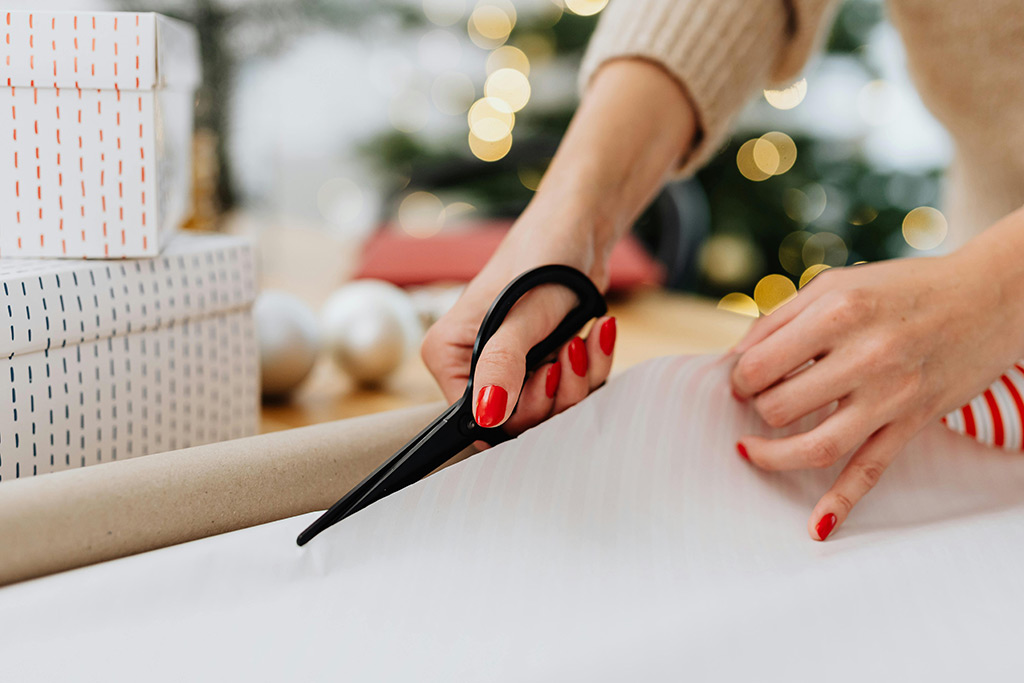
Event designer Colleen Kennedy Cohen tells the Spruce about the wrapping supplies she always keeps on hand, including the usual essential materials (i.e., gift boxes, paper, and bows) as well as items like craft scissors and gift-wrap tape. However, Kennedy Cohen also includes optional specialty products such as twine, calligraphy pens, and natural toppers like holly branches in her stash to kick the results up a notch. Assemble these provisions, and you’ll be ready to get to work.
Tips for success
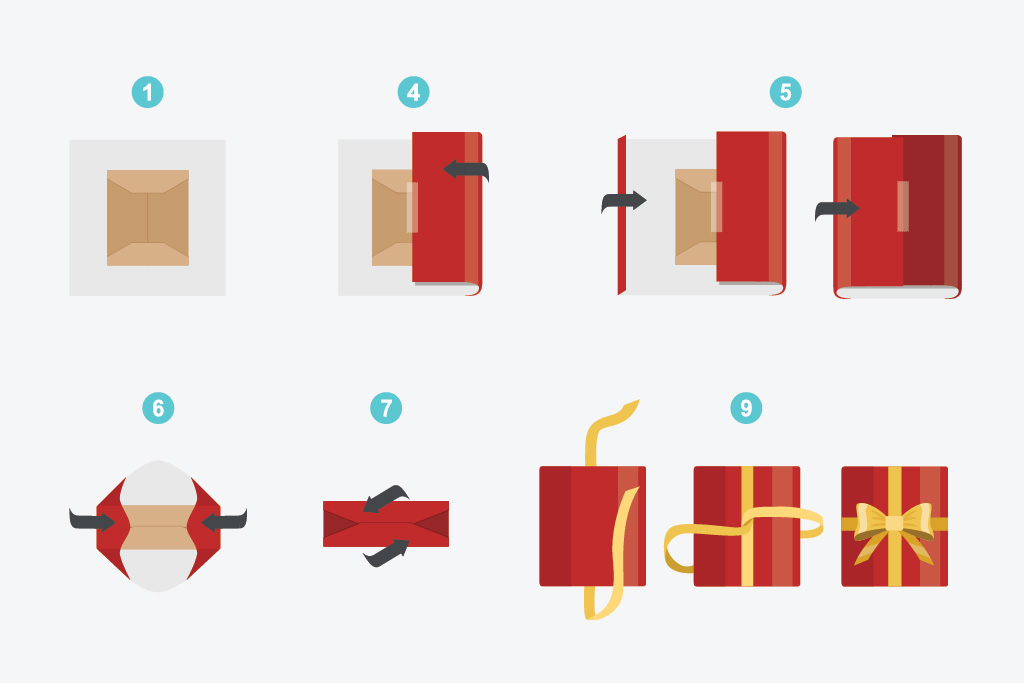
Here are foolproof steps for wrapping a gift in a simple box:
- Lay it in tissue paper or surround it with crumpled tissue for cushioning and to keep it in place during step 2.
- Next, measure your wrapping paper. Roll it out, and place the box in the center of it upside-down. To estimate how much paper you’ll need, fold the paper over the box until it is completely covered. Feel free to overestimate.
- Cut the paper in one straight go, using a straight edge like a ruler to make clean cuts if it’s not grid-lined on the back.
- Ensure that the box sits in the middle of the paper, and pull one side of the wrapping so it touches the center of the box lengthwise. Use a small piece of tape to hold it in place.
- If you have enough slack to do so, take the other end of the paper and fold it in slightly for a neater seam. Then pull that side over to meet the other end of the paper, and tape it.
- Now move to the shorter, exposed sides. Starting at one end, press the flaps against the shorter, vertical sides so two wings protrude. Crease the paper so you’re left with two neat triangles on each end.
- Next, press the upper wing down against the lower one so they’re flush with each other, and bring them up against the side of the box in one crease. Fold the point of the fold in as much as necessary so it can sit flush with the top edge.
- Repeat on the other side.
- To craft a simple, classic look, measure ribbon by rolling one piece each to surround the box lengthwise and widthwise. Cut each ribbon so they meet neatly in the middle, then cover the seam with a bow. Finally, consider finishing the box with a decorative element like a flower or candy cane.
Troubleshooting your gift

Didn’t do the neatest job with your wrapping? Cover any exposed edges with festive stickers, extra ribbon, or adhered decorations like fresh flowers.
Dealing with unusual products that don’t fit neatly into a box or bag? Kennedy Cohen has the answer: Wrap them in soft, appealing fabric, then gather and tie the ends. Or simply place it in a basket, and tie a bow around the handle.
The good news is that this skill is easy to master and will likely become second nature the more you wrap. The best part? The effort you put into your gift wrapping will show in the results—and, hopefully, in the priceless glow in your recipient’s eyes.